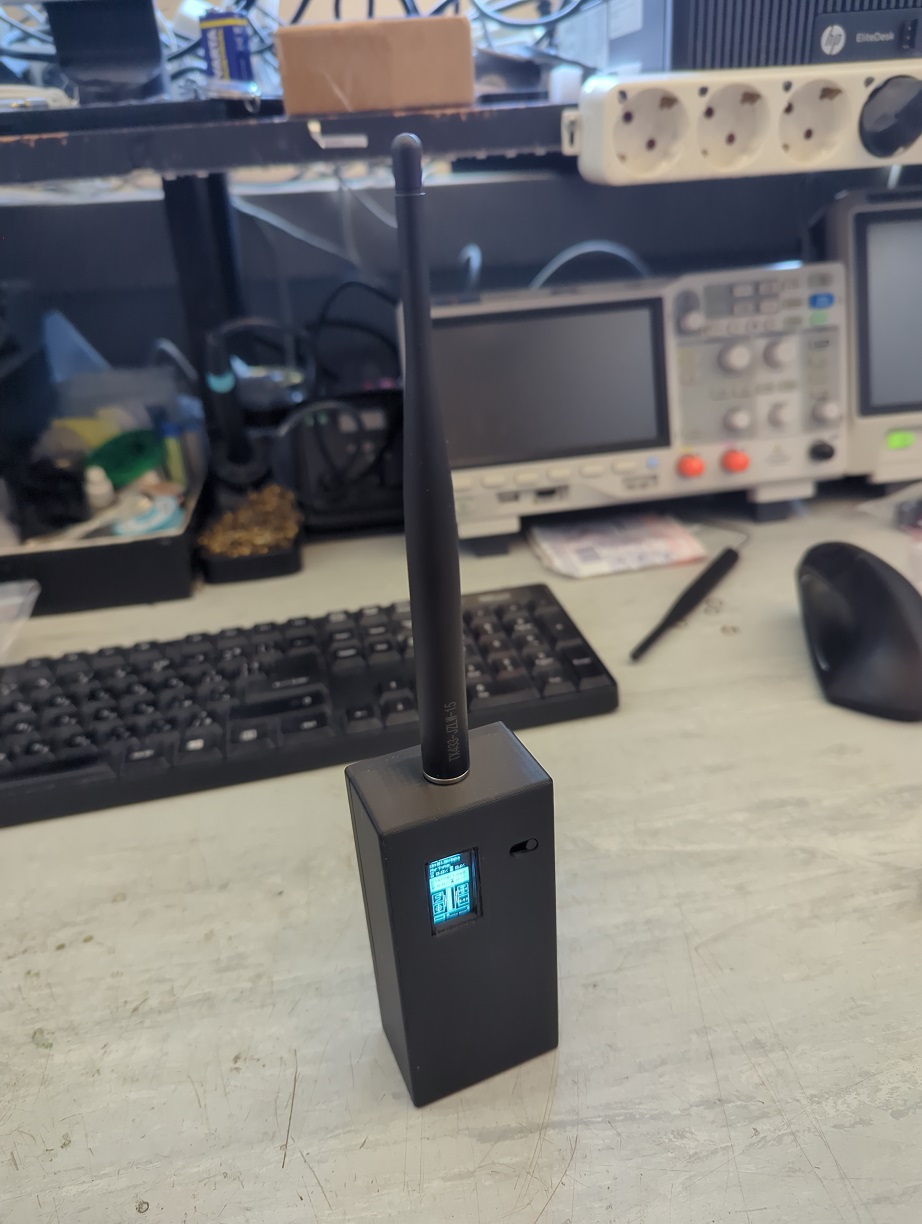
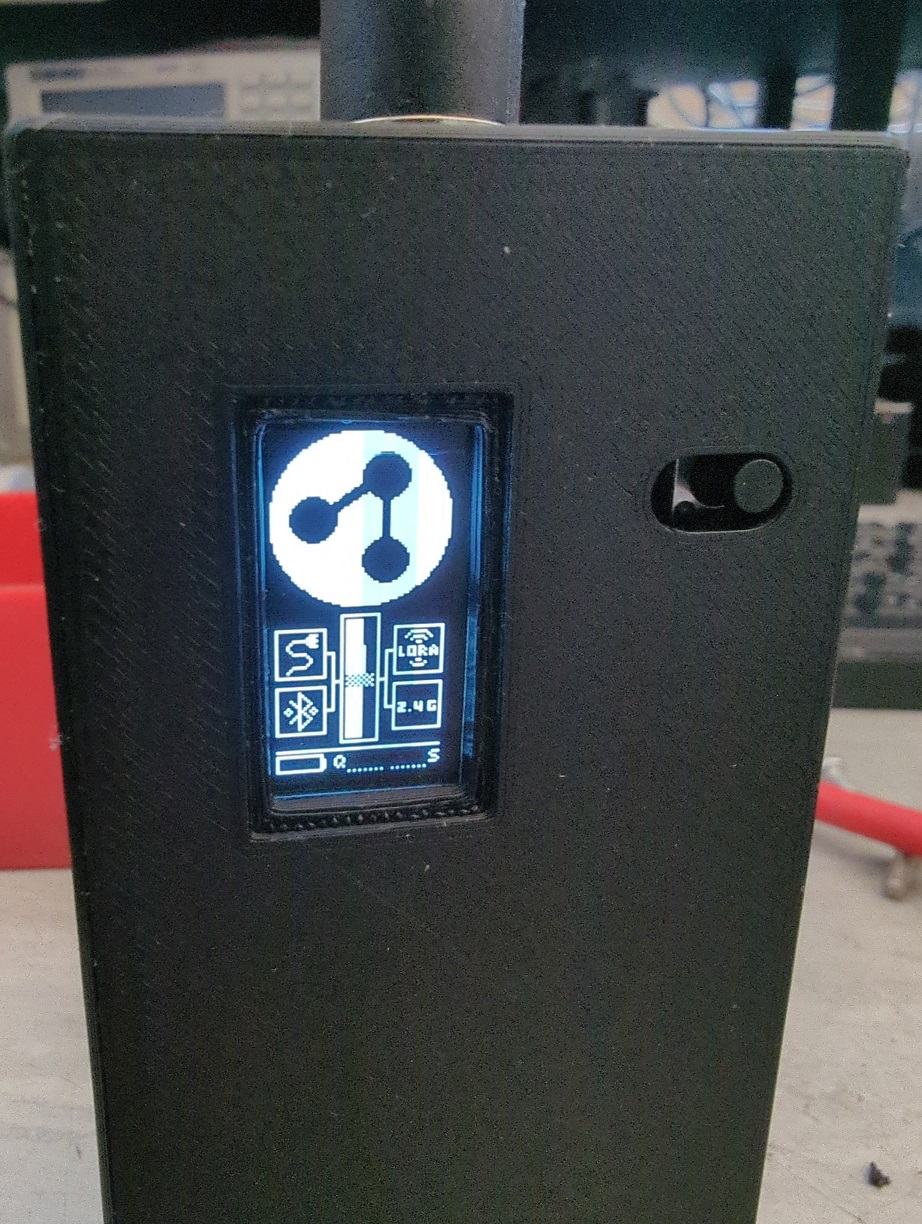
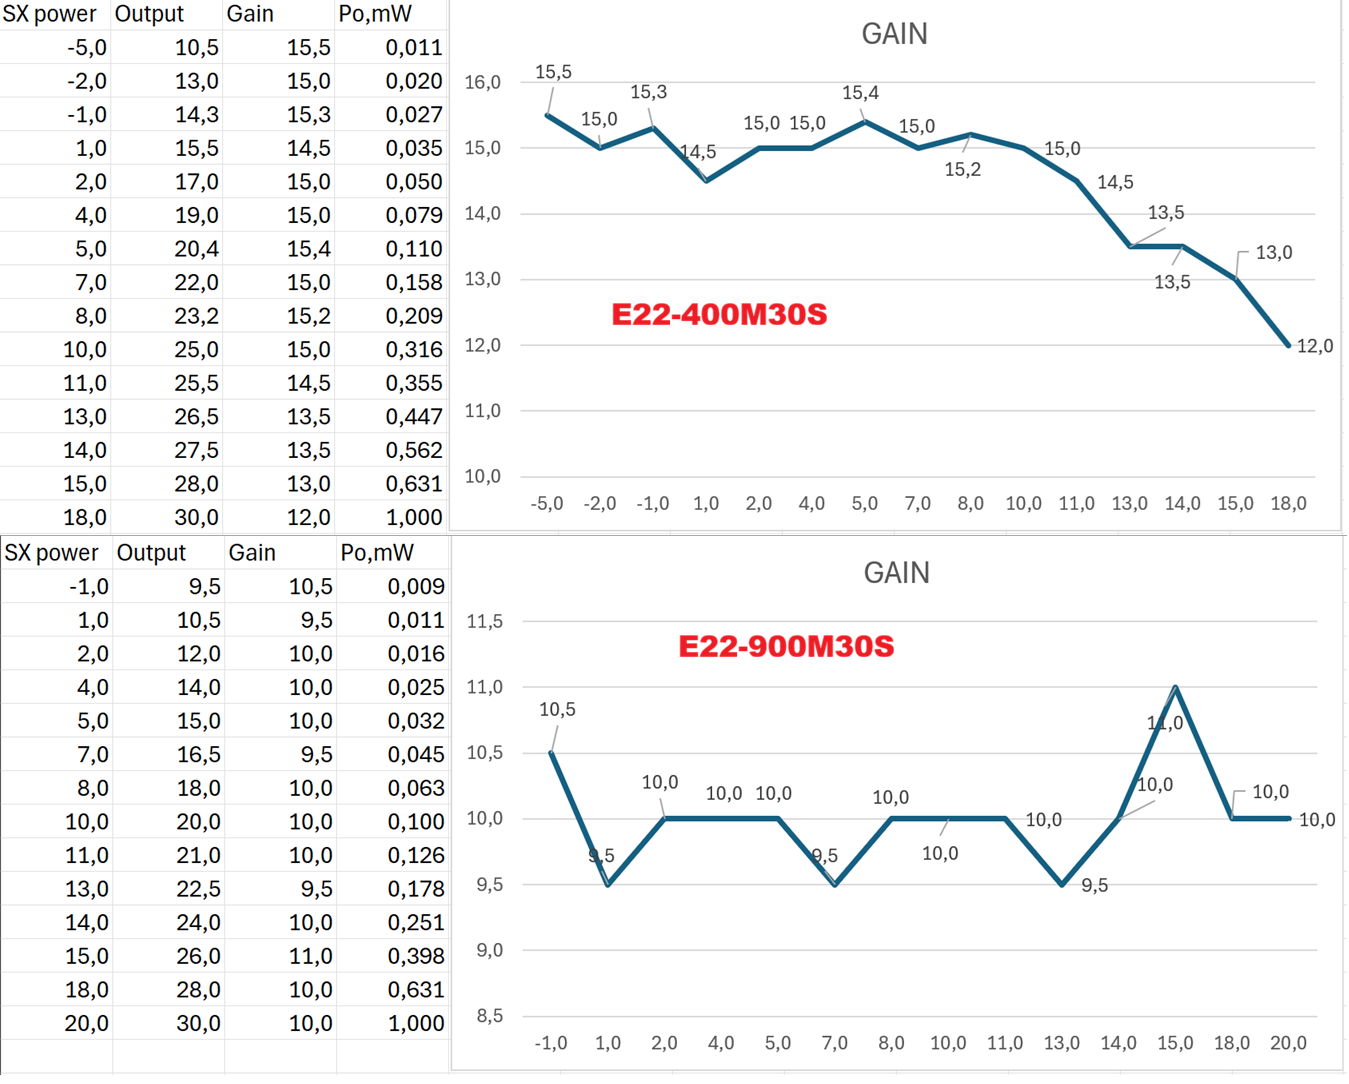
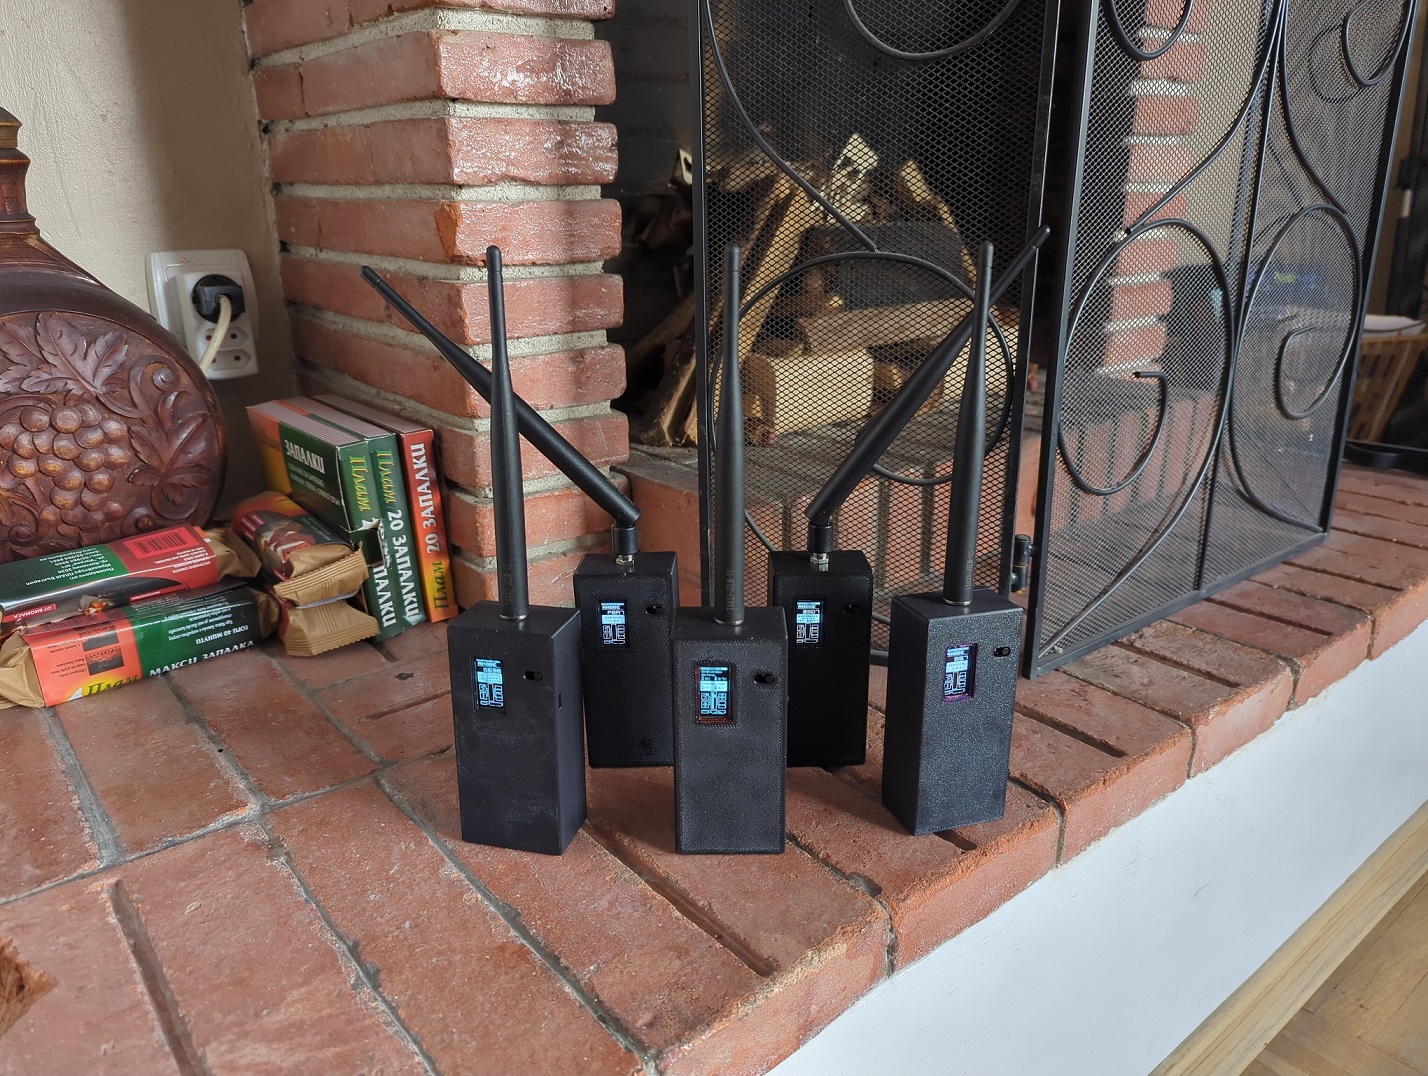
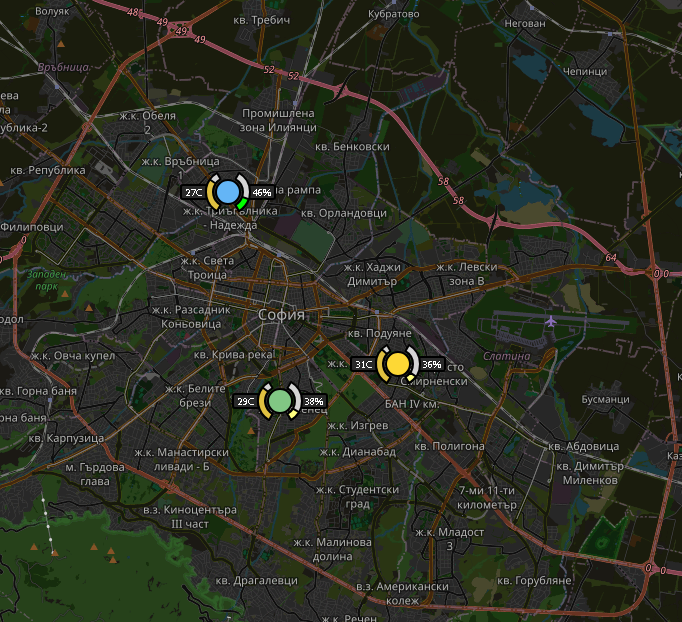
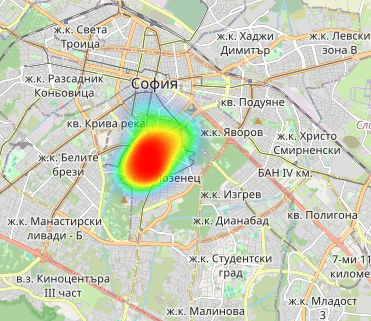
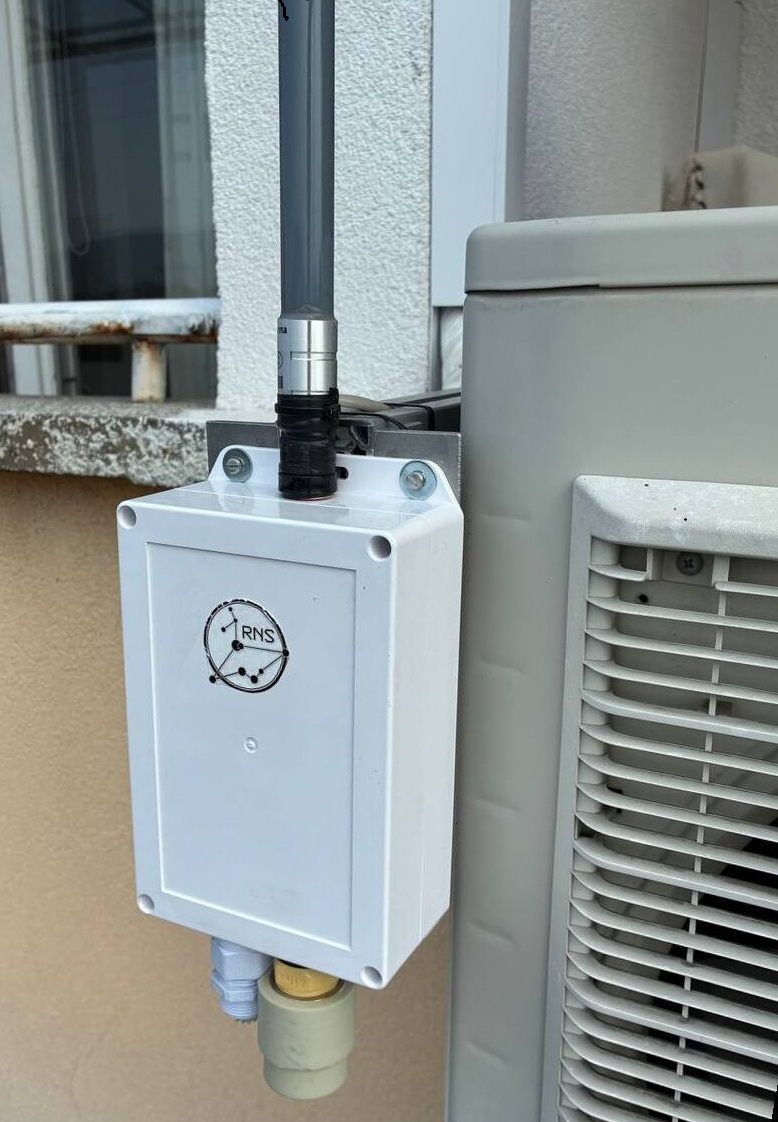
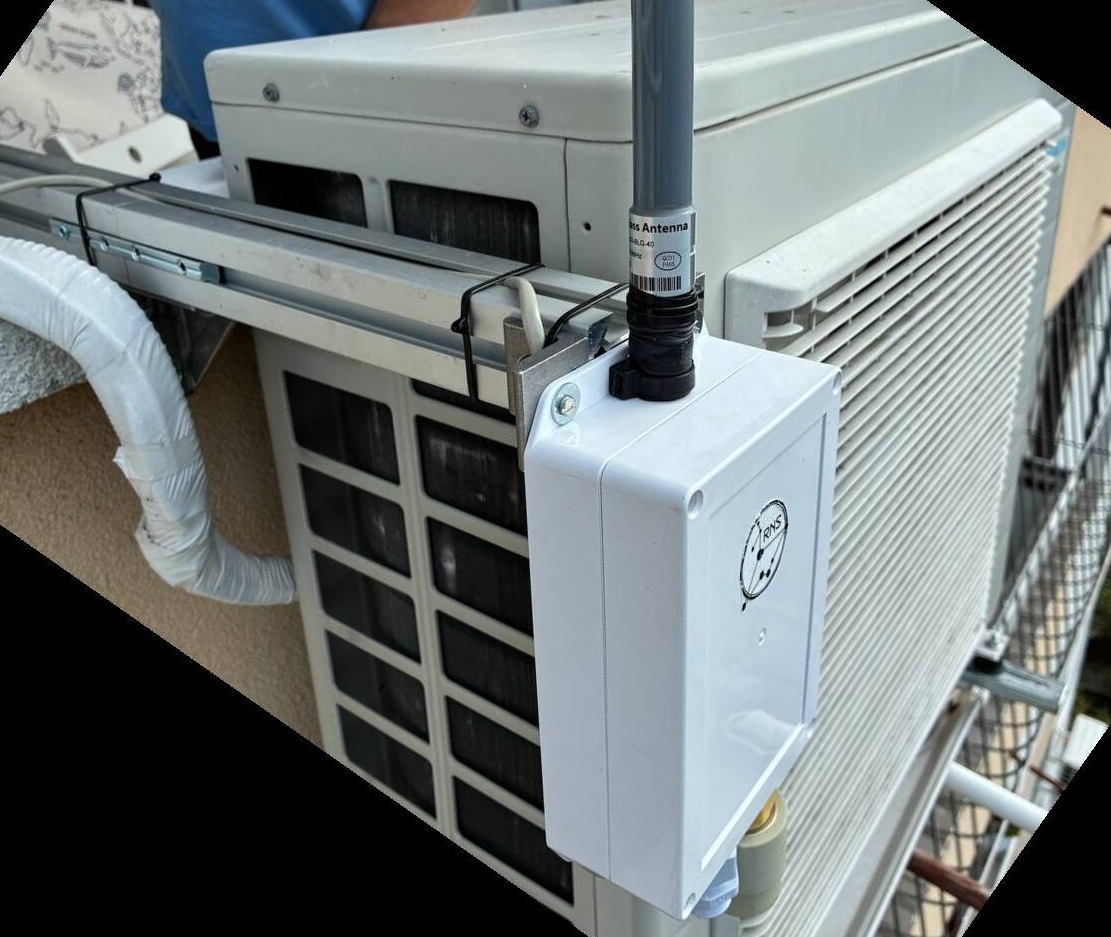
Here we go!
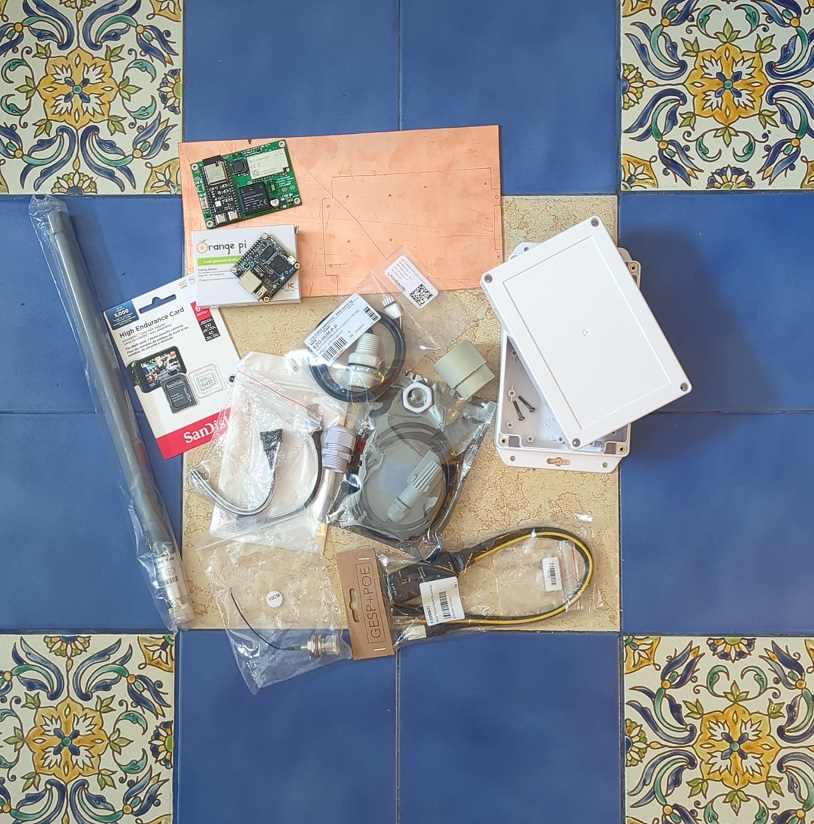
Lets build Sofia 4! I will try not to go into too many details, just specific things, I have dealt with over the previous builds. I also made several mistakes, of course, which I wrestled on the go. We start with cutting the baseplate for the box. It is done by scouring/breaking, more than cutting. After this the plate is drilled and spacers mounted for both PCB's
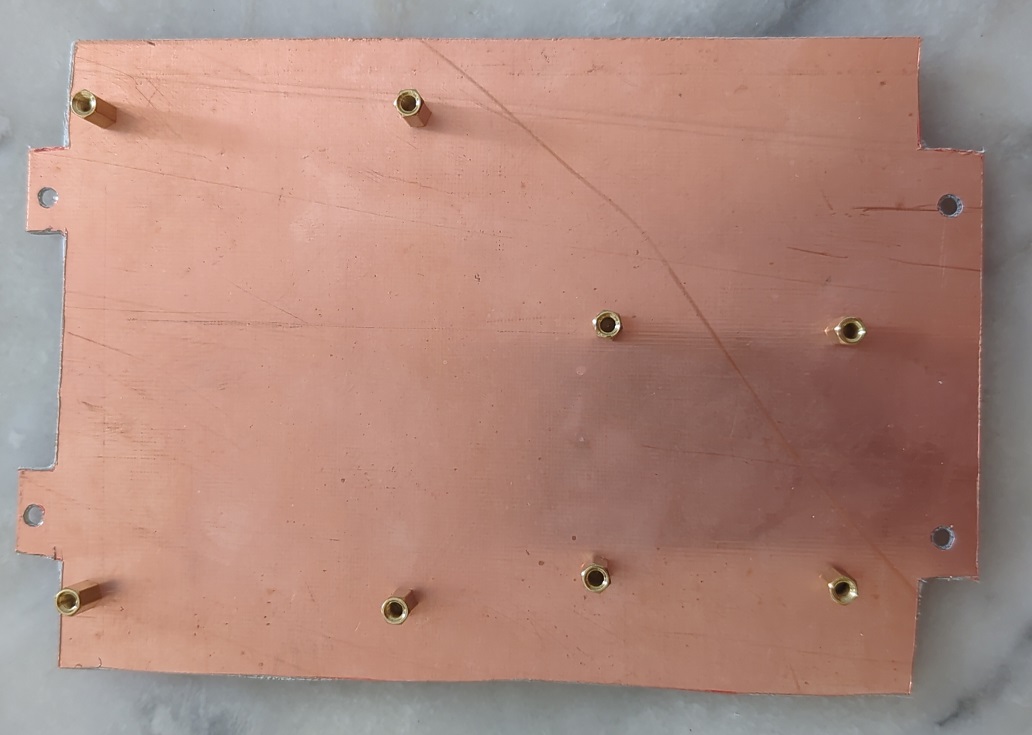
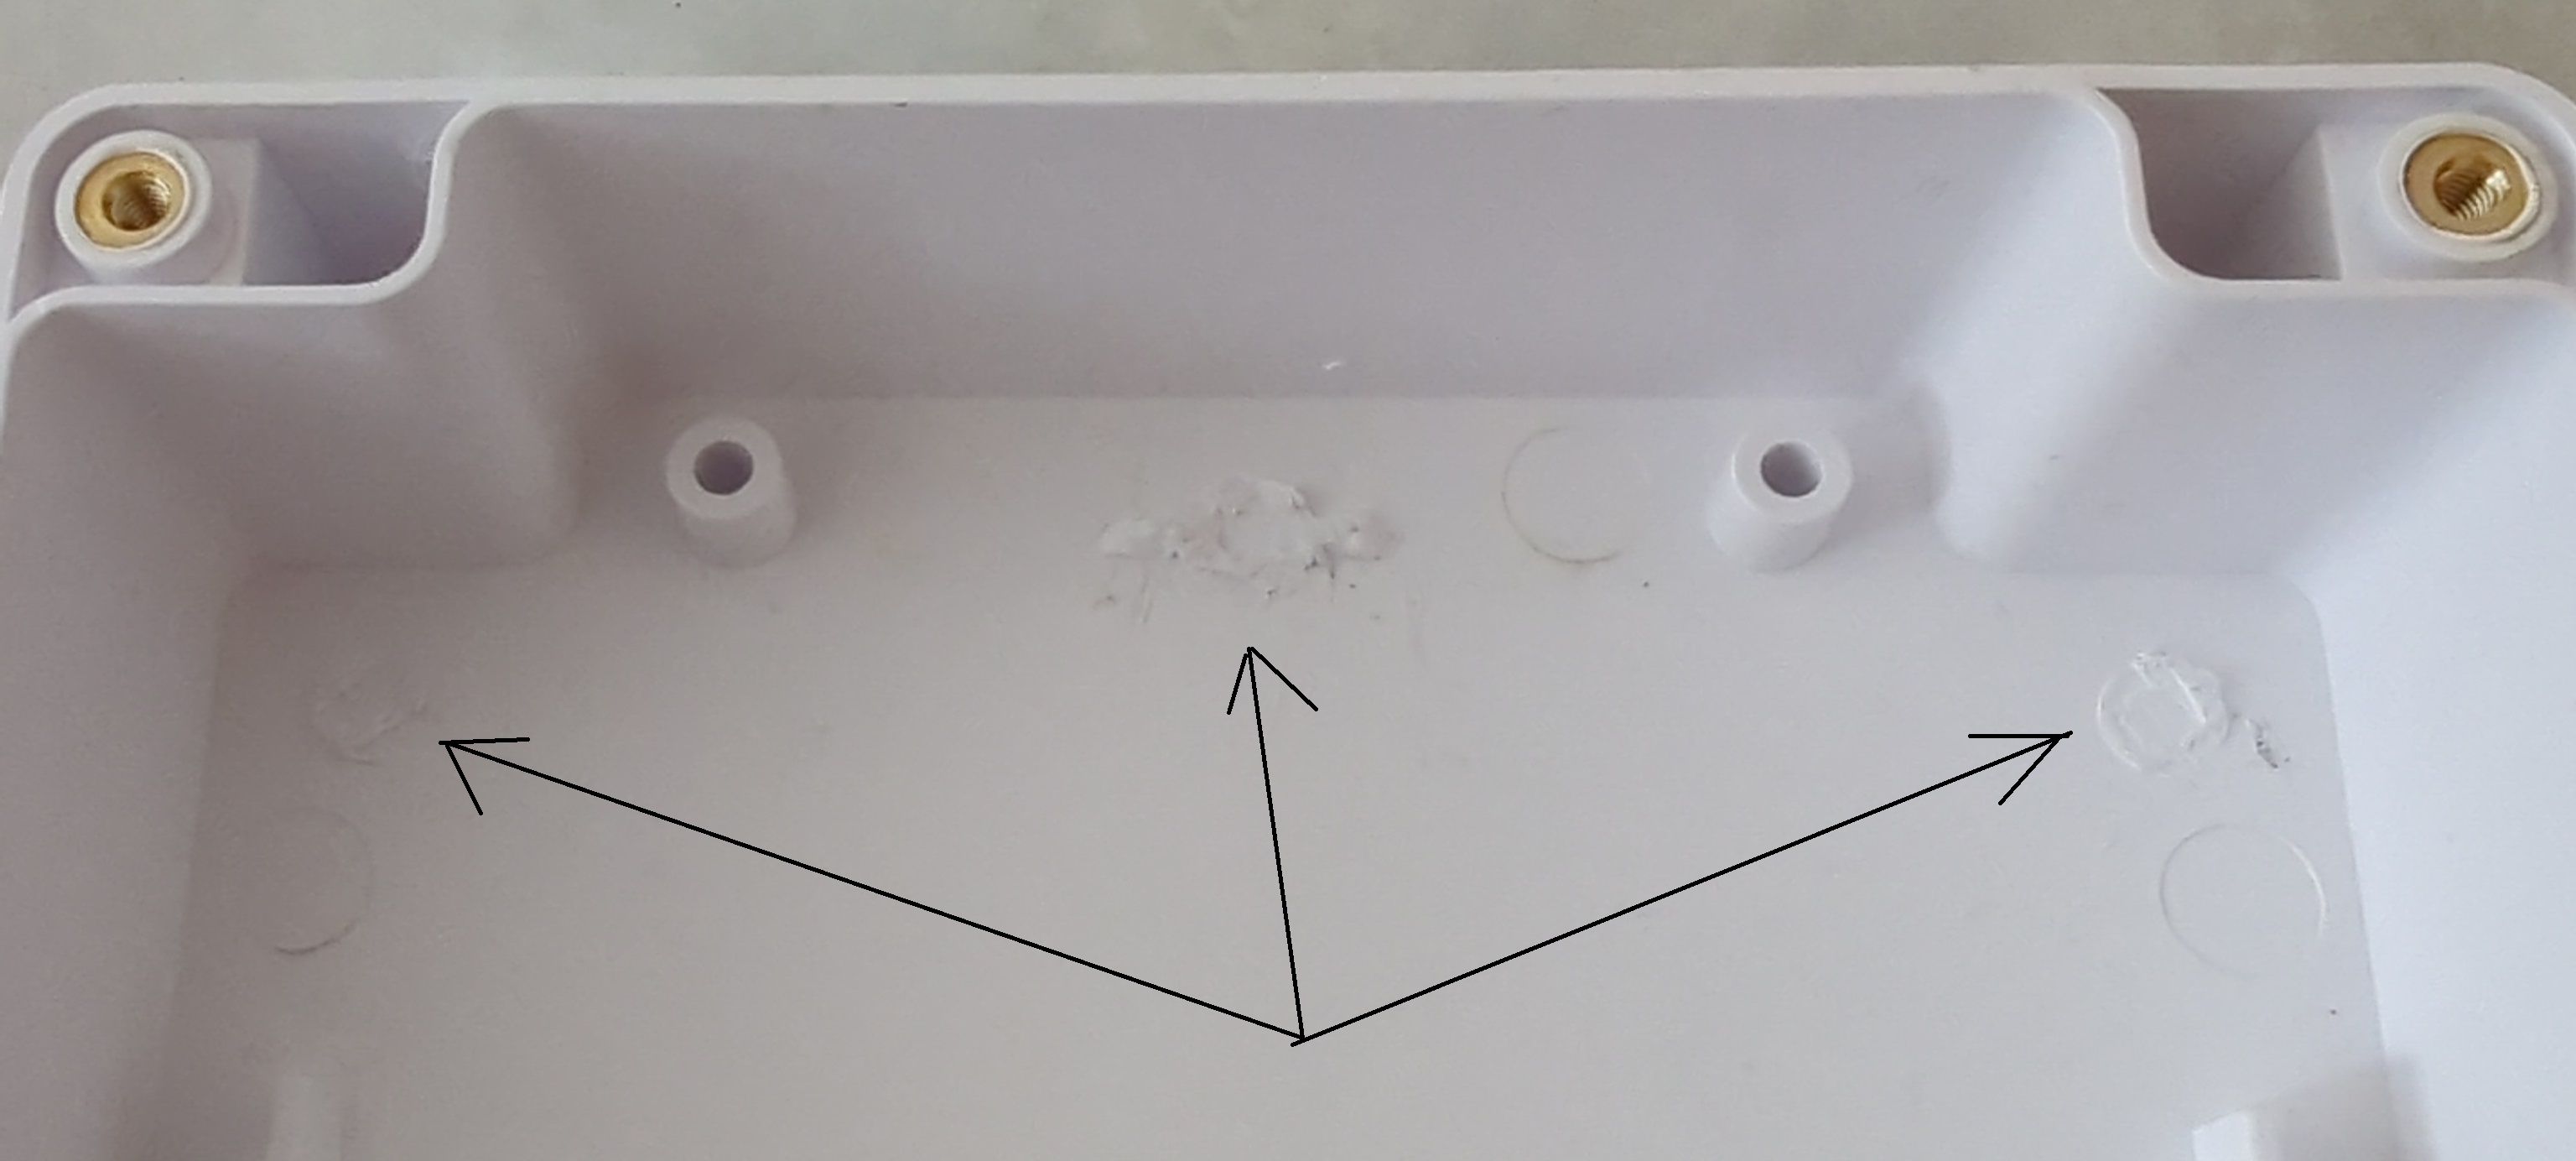
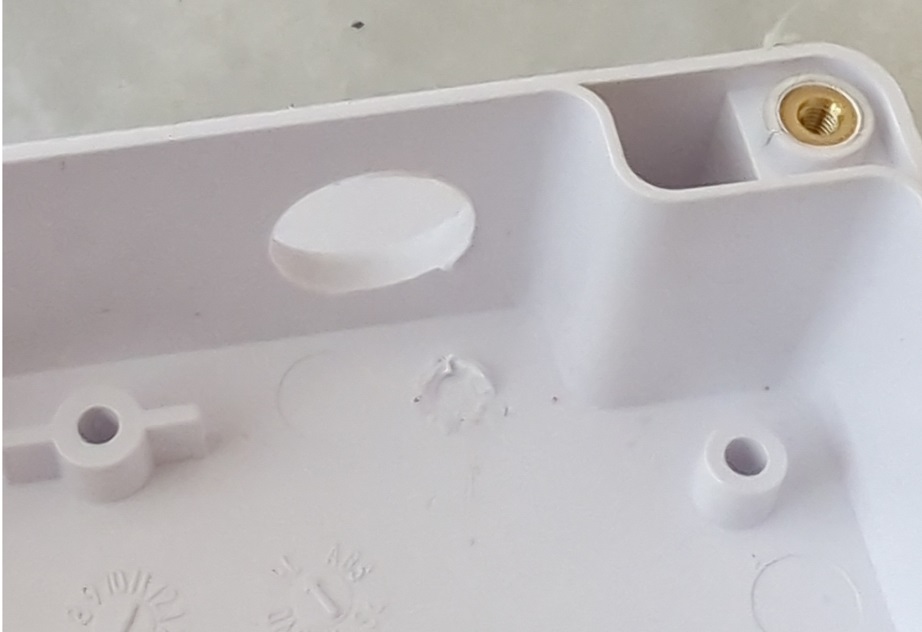
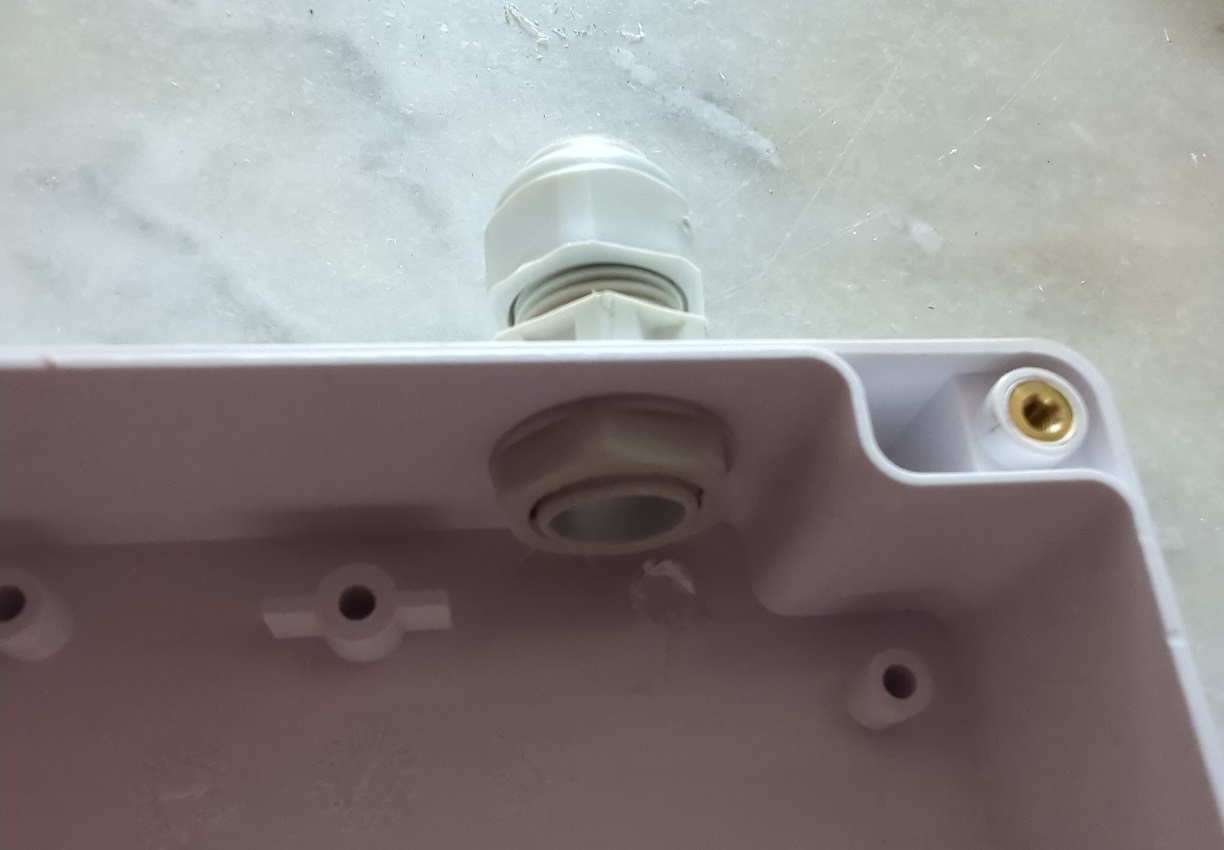
Than the box got shaved, loosing several studs and getting a hole for the cable gland for the LAN. Shit... drilled too low. Let's cut the baseboard to fit the nut. Mistake one.
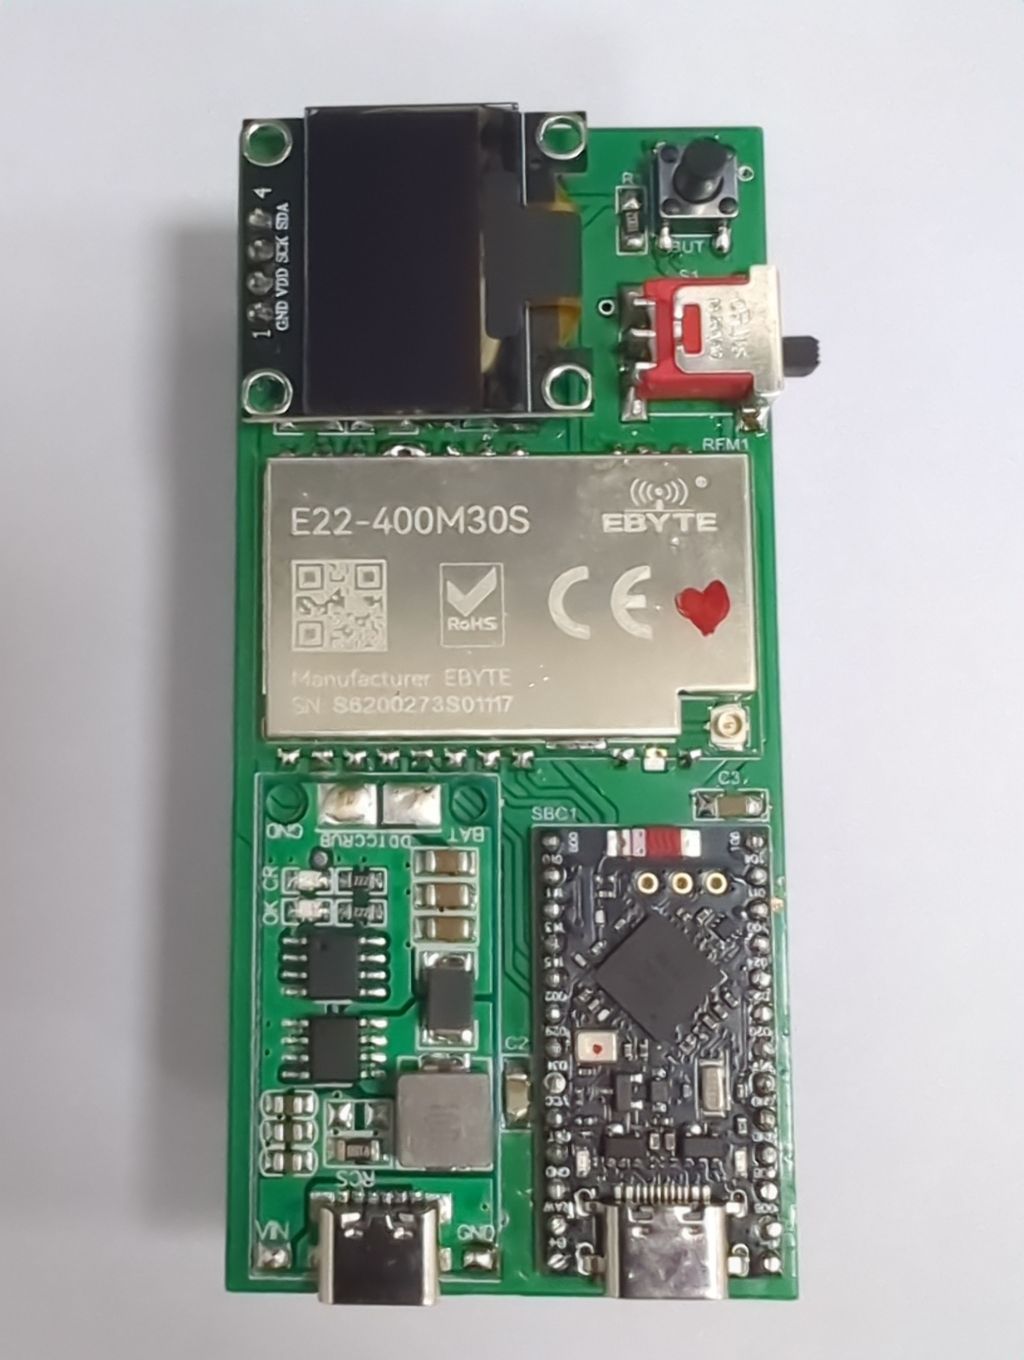
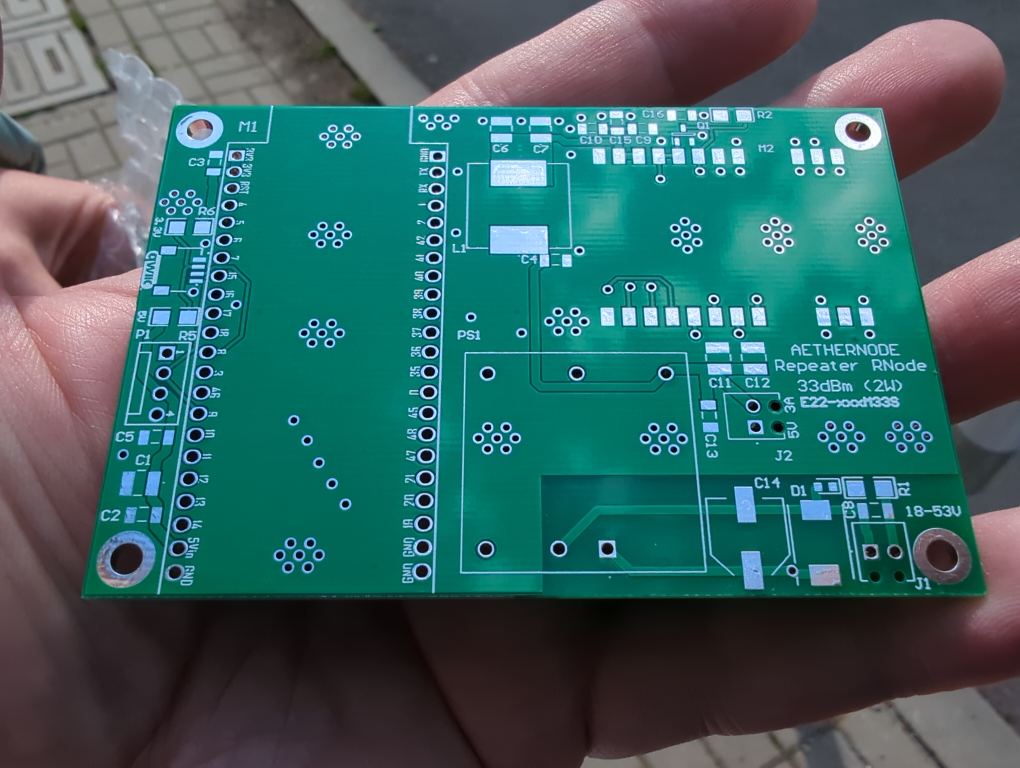
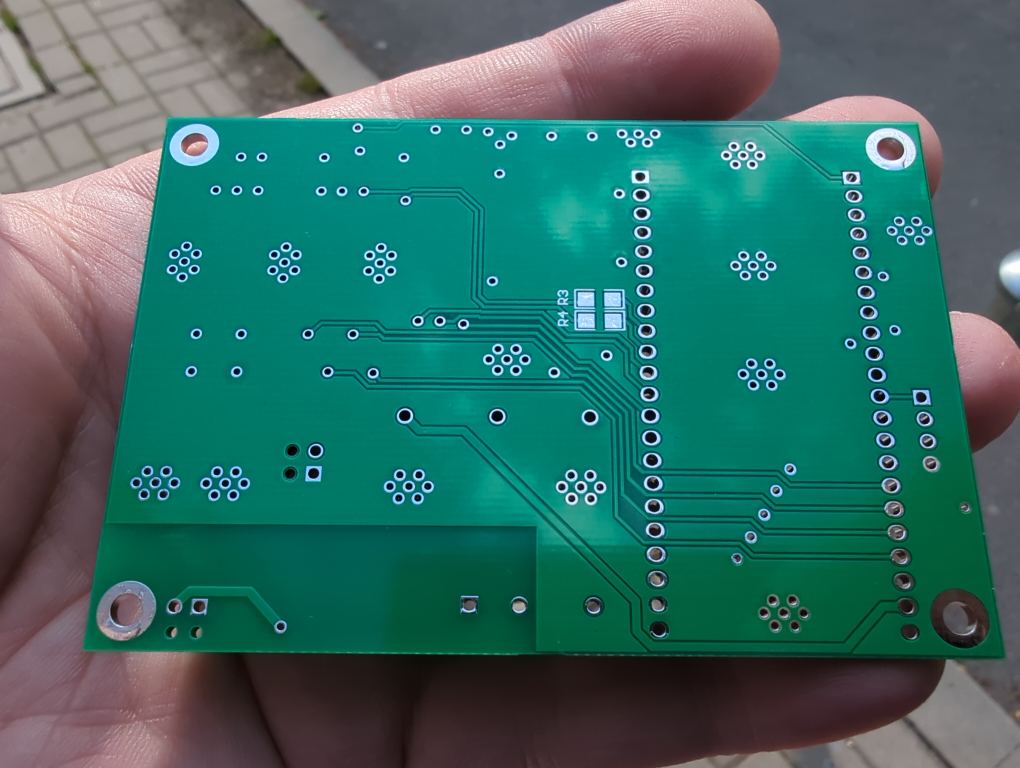
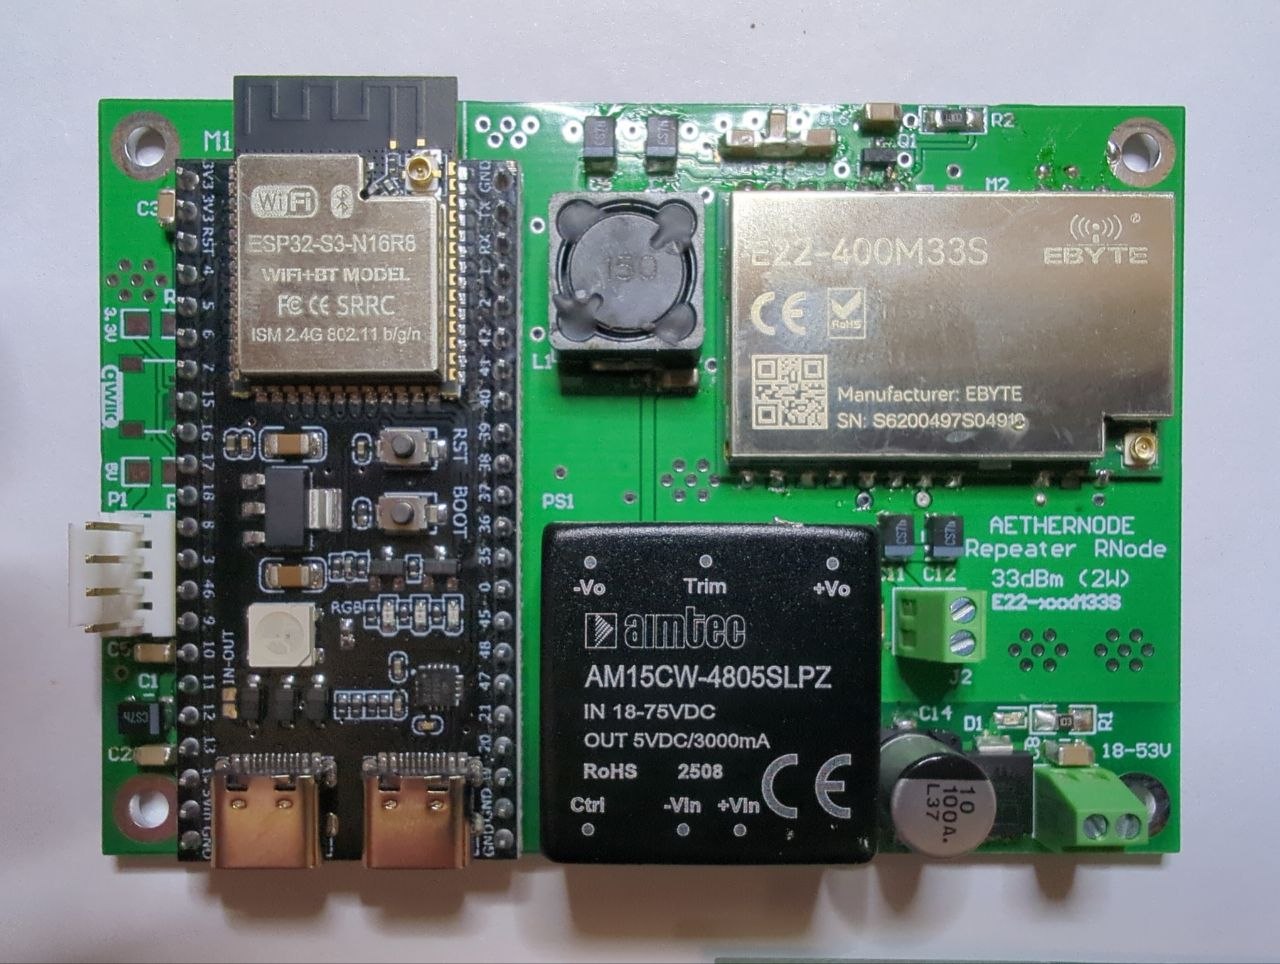
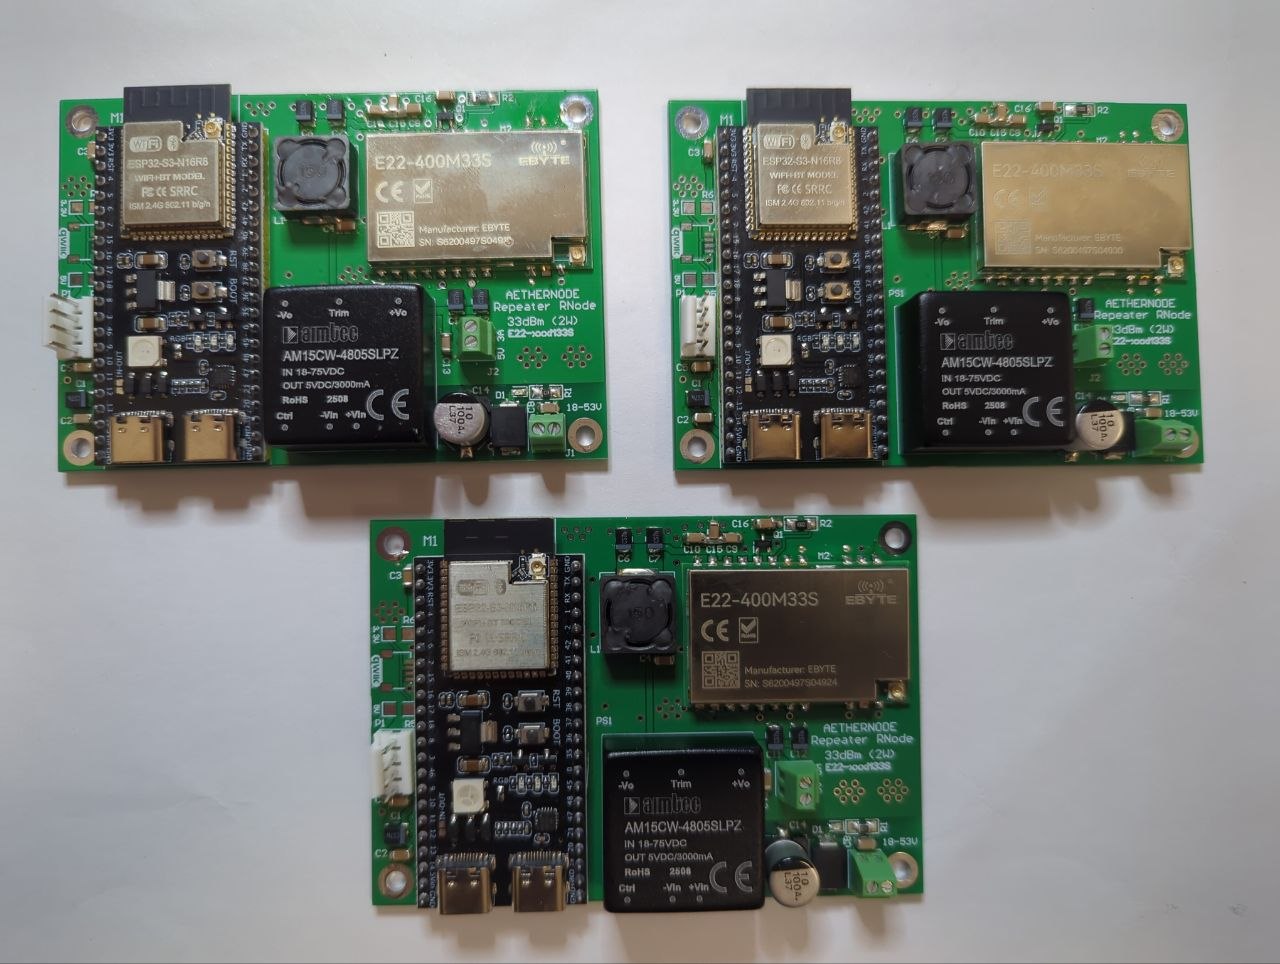
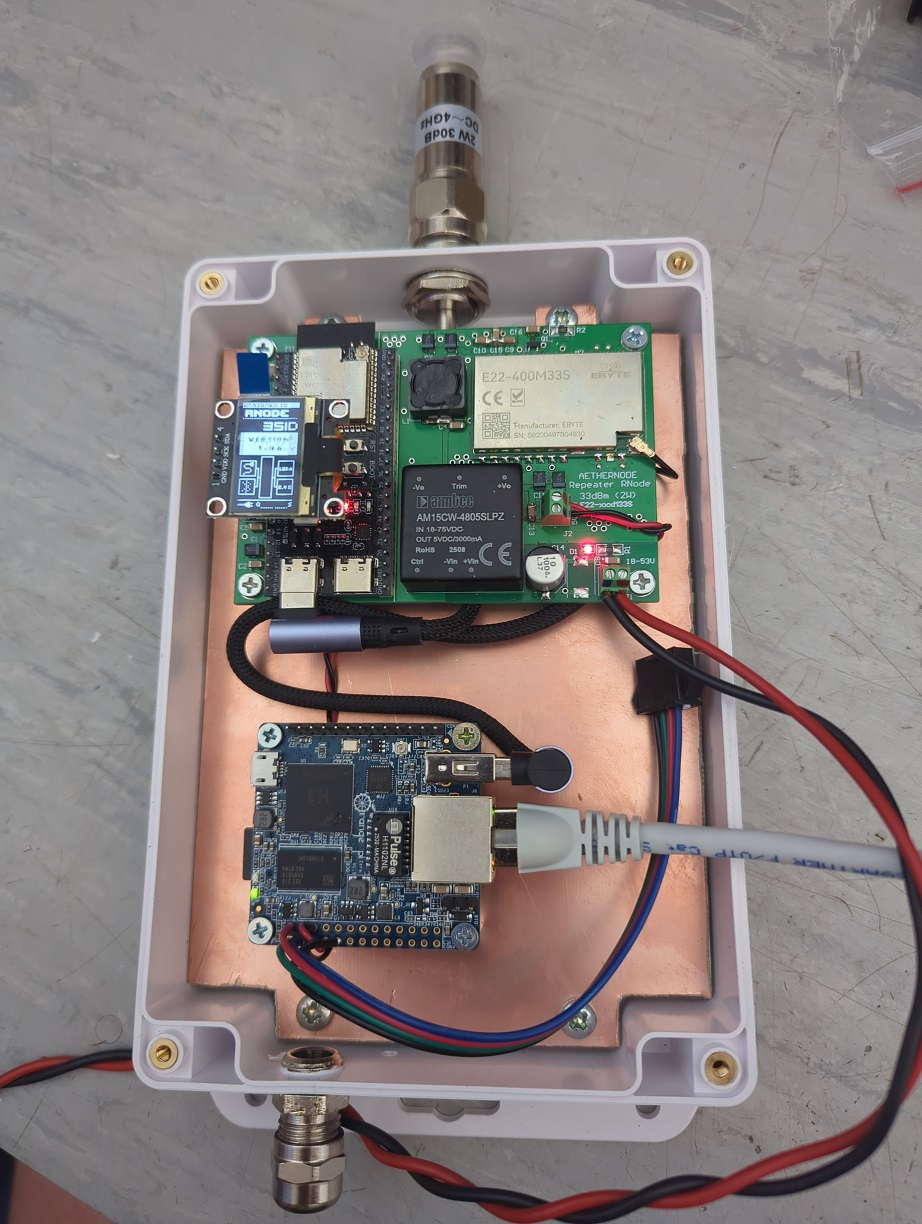
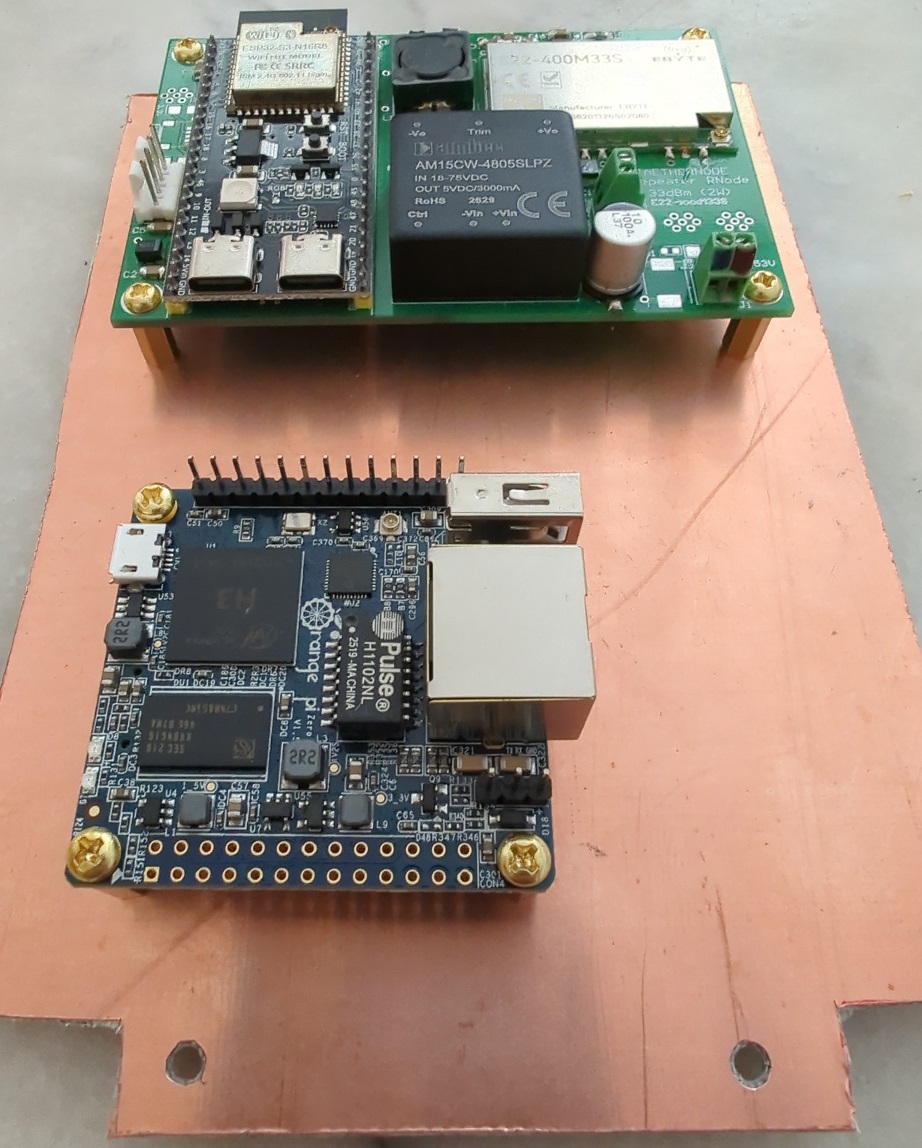
Next the PCB's got on for test fitting. The RNode was left on, the OrangePI Zero LTS would have to dismount the horse later for soldering jobs.
In the top side center I carefully drilled the hole for the panel-mount N to IPX trough. There is a fat 2mm PCB for strengthening the top wall, because Sofia 4 will be high in the winds and I am out of aluminium ones.
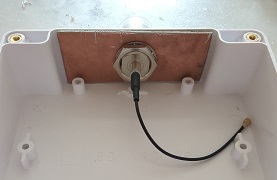
Carefully plugged in the IPX. Keep in mind to align those well, before applying any force, and to remember, that a virgin female IPX (cable side) is pretty tight and the spring needs more persuasion. But this is only once.
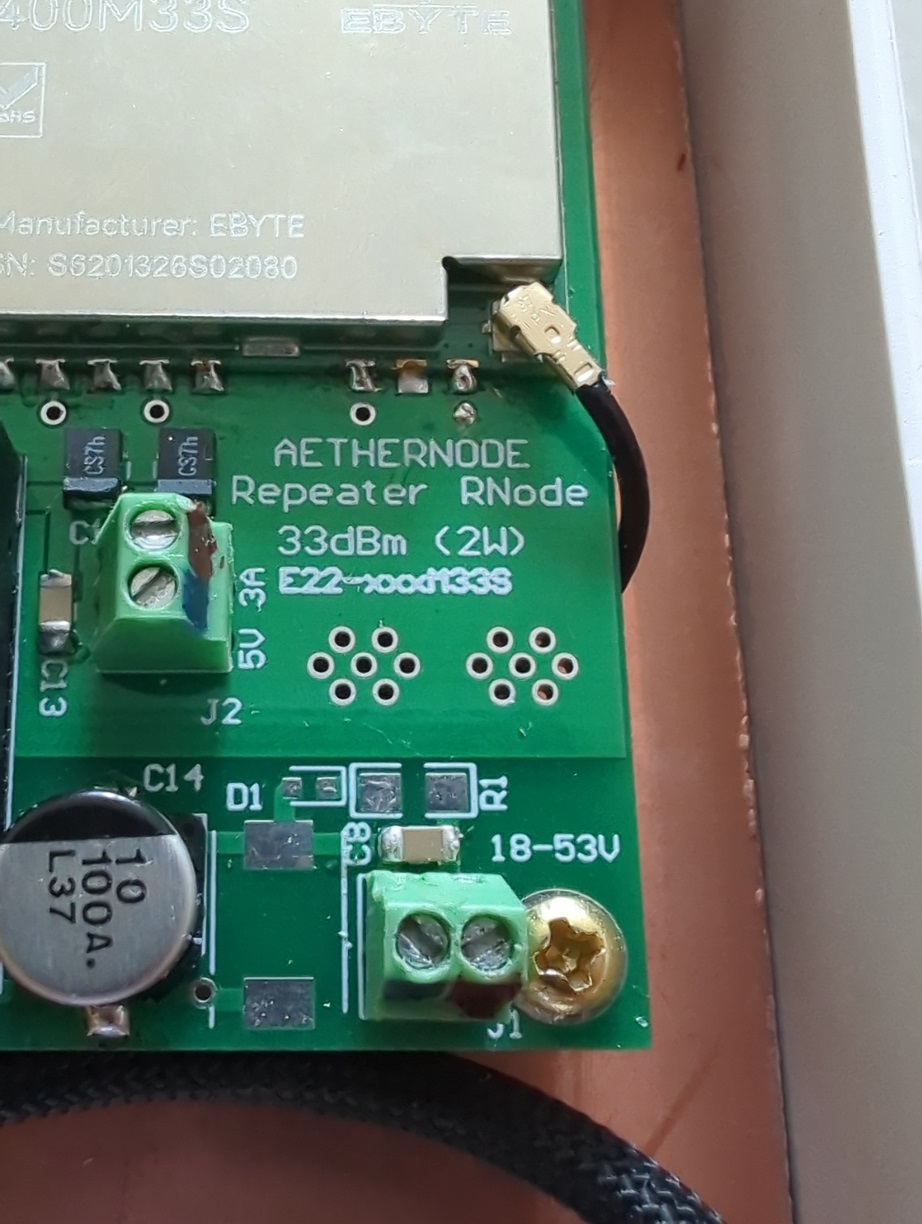
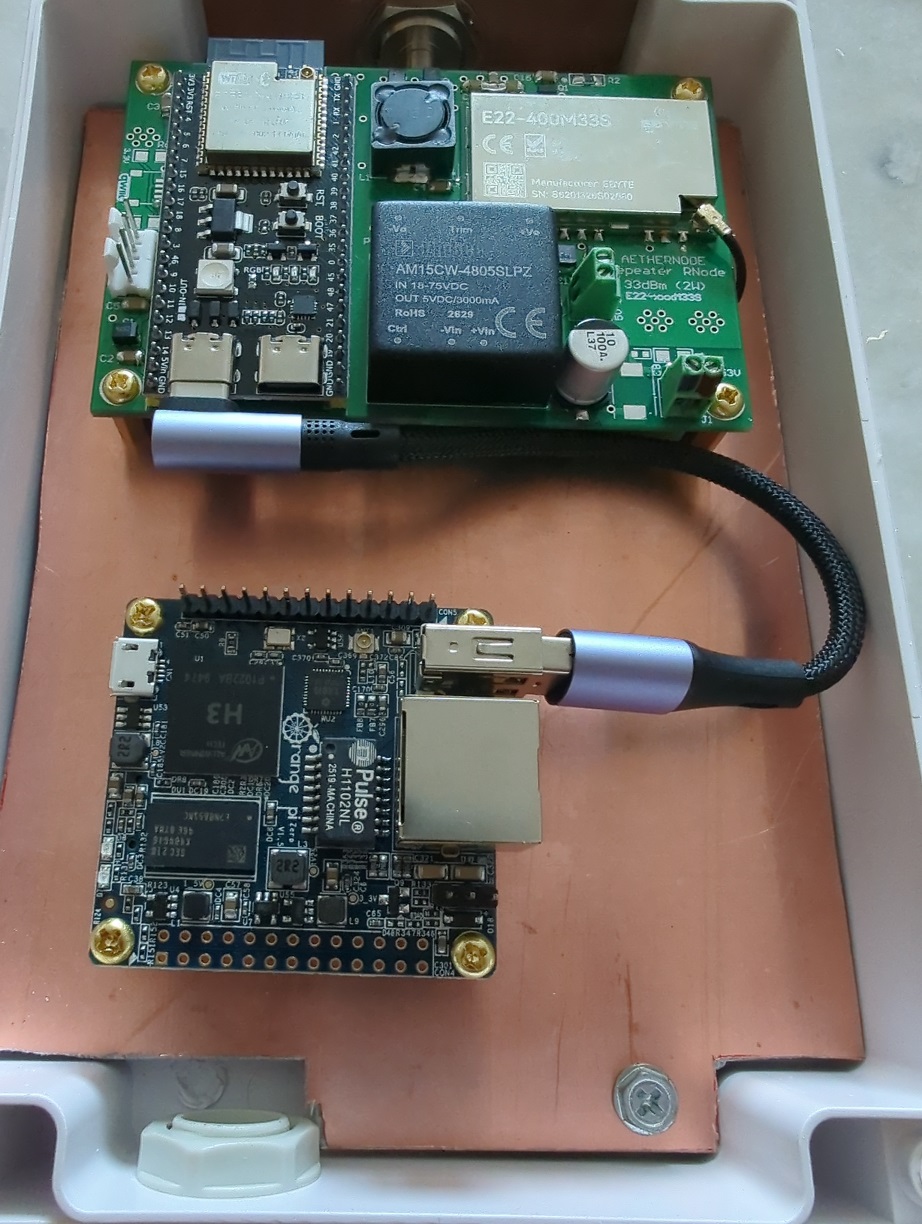
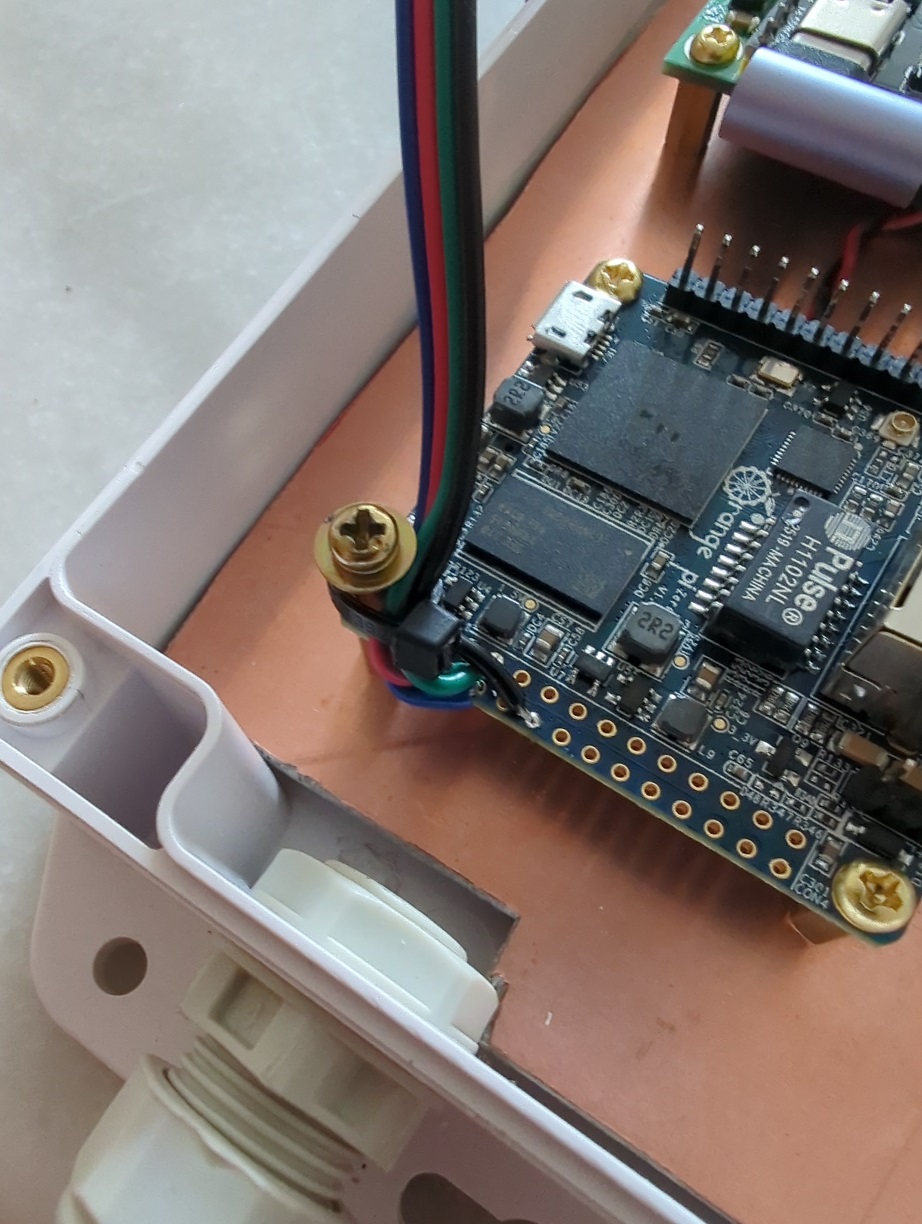
OK, looks, good, SBC off to the soldering iron. 5V wires soldered on bottom side, and I2C line for the environment sensors is on top. Changed one of the mounting screws for another standoff, so I can tie the cables in place. This will prevent any funny business on a roof, when opening the box. I put a bolt and a washer on top, so the tie will not slip off.
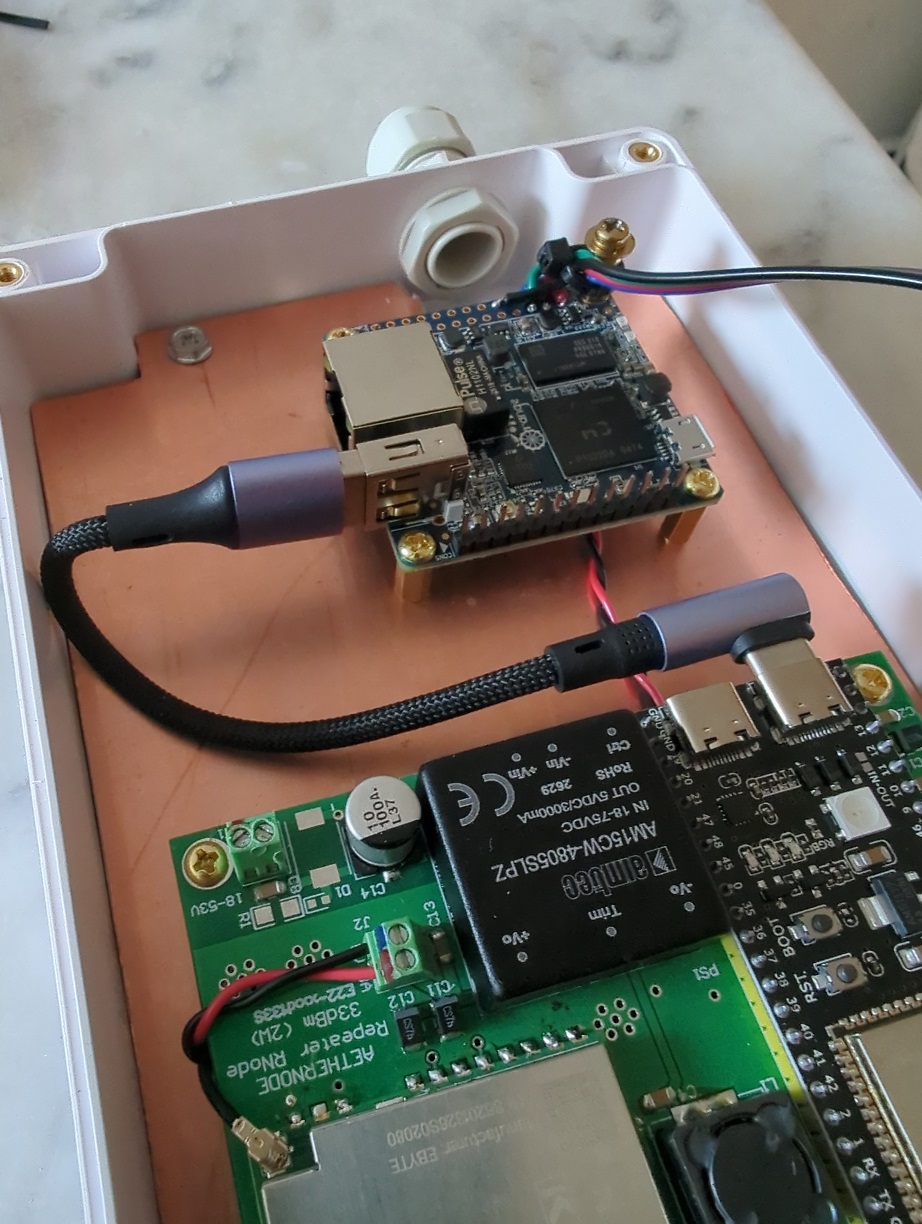
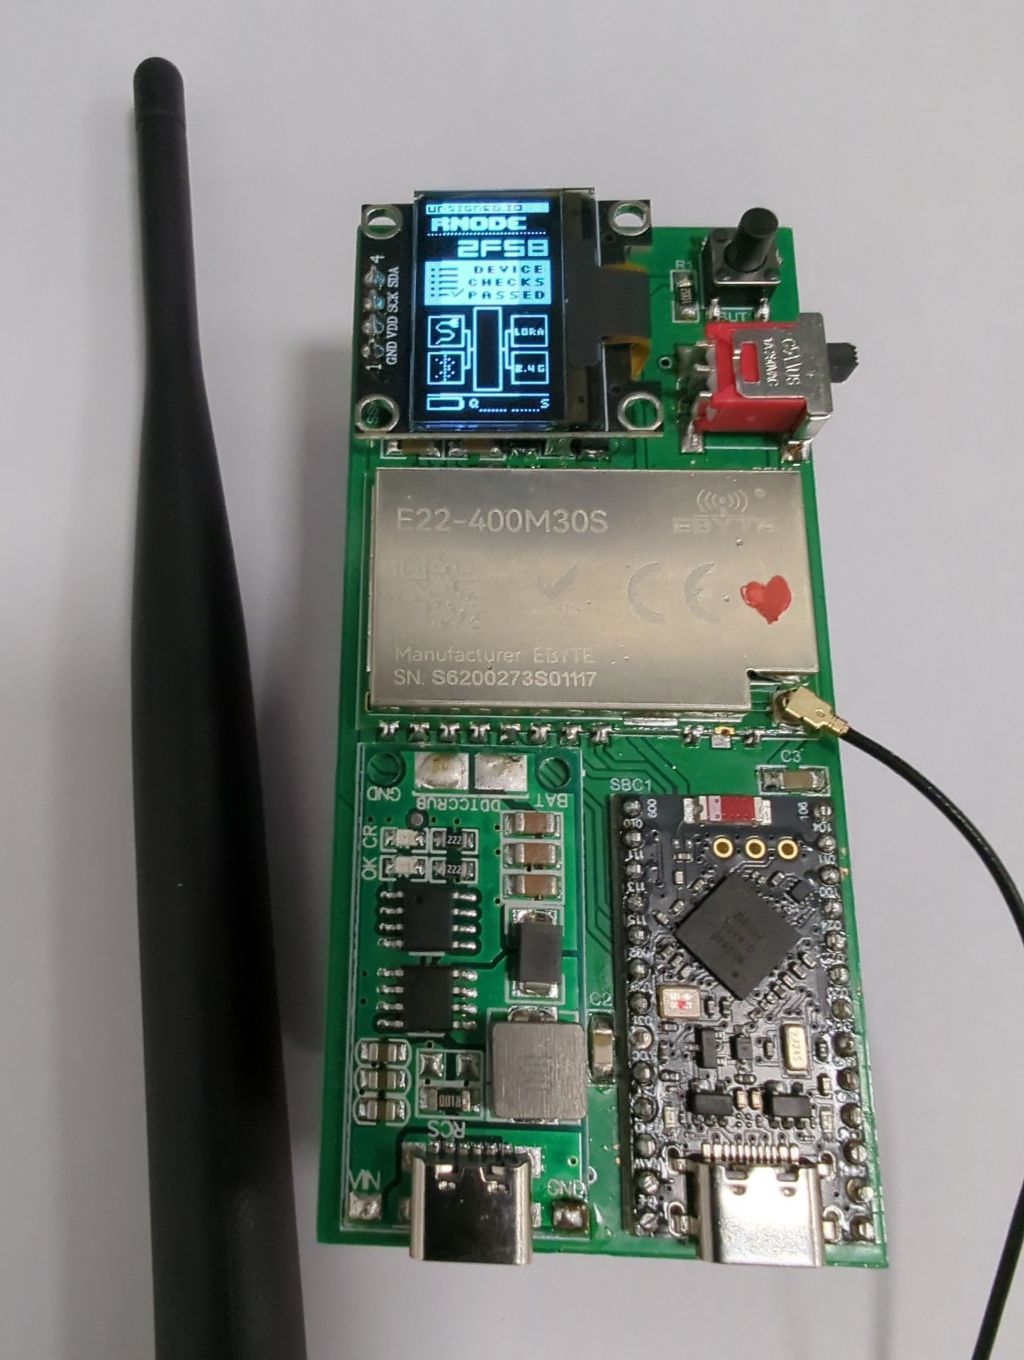
Time to play! I have put a 30dB 2W attenuator in place of the antenna. NEVER run an RNode without an antenna or a dummy load of some kind! It will fry the power amplifier very quickly.
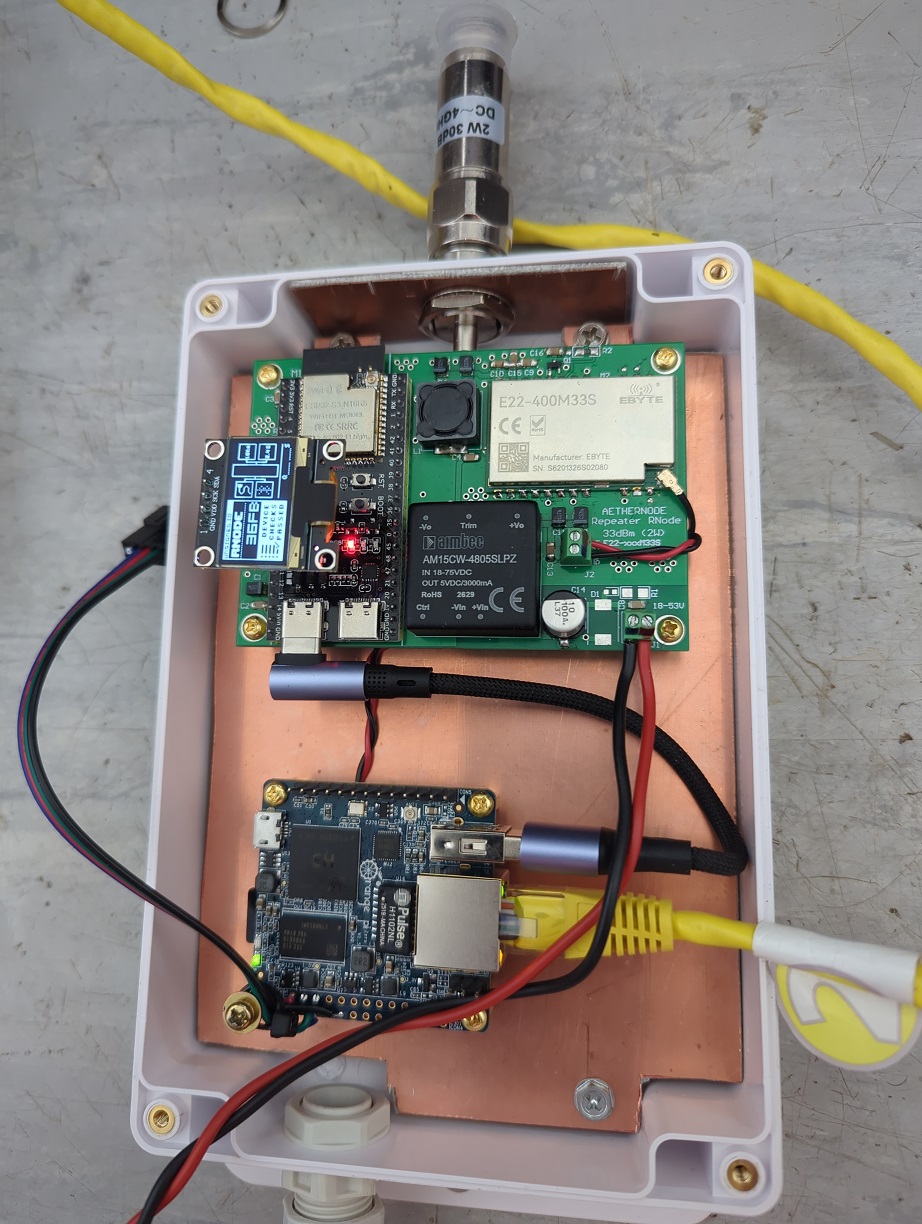
- Flashed Armbian Trixie
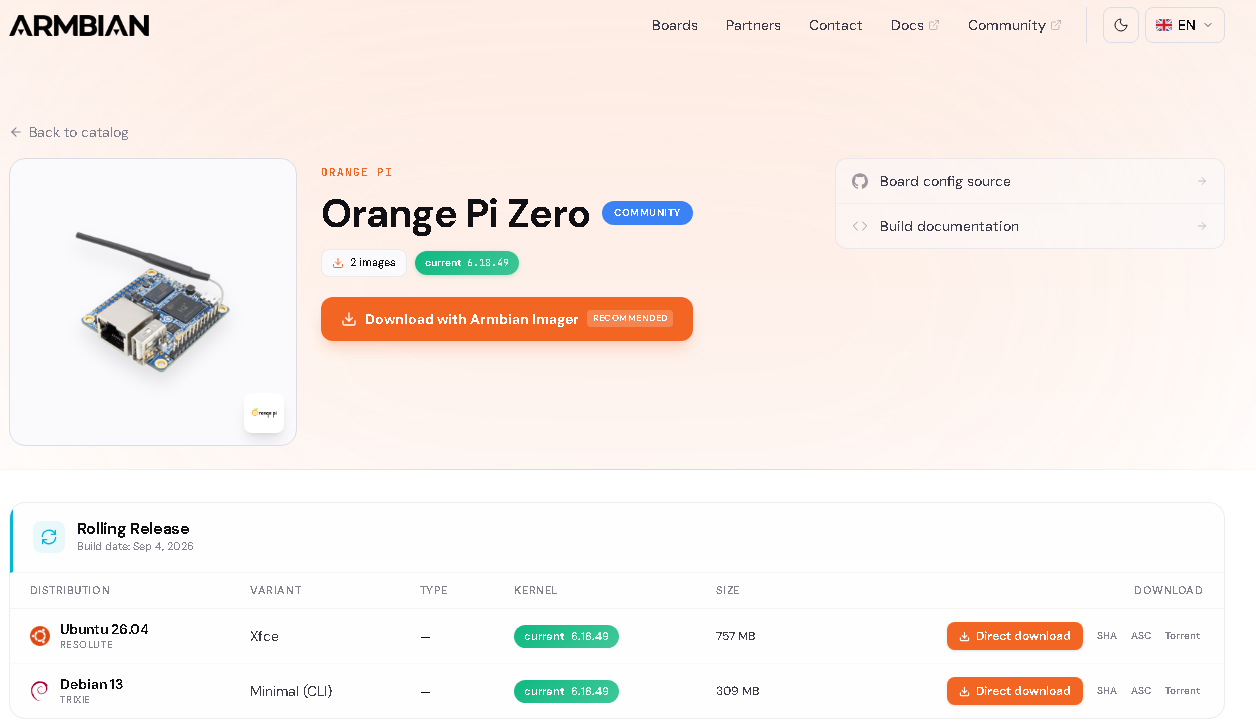
- Set user and pass, did armbian-upgrade.
- I want a staic IP, so I can NAT the node out. I deleted /etc/netplan/10-dhcp-all-interfaces.yaml, and added a /etc/netplan/20-static-ip.yaml qith settings. You can see how this is done here: Armbian Networking
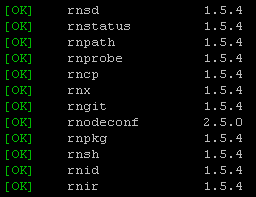
- Set up the RNS install / update script and ran it.
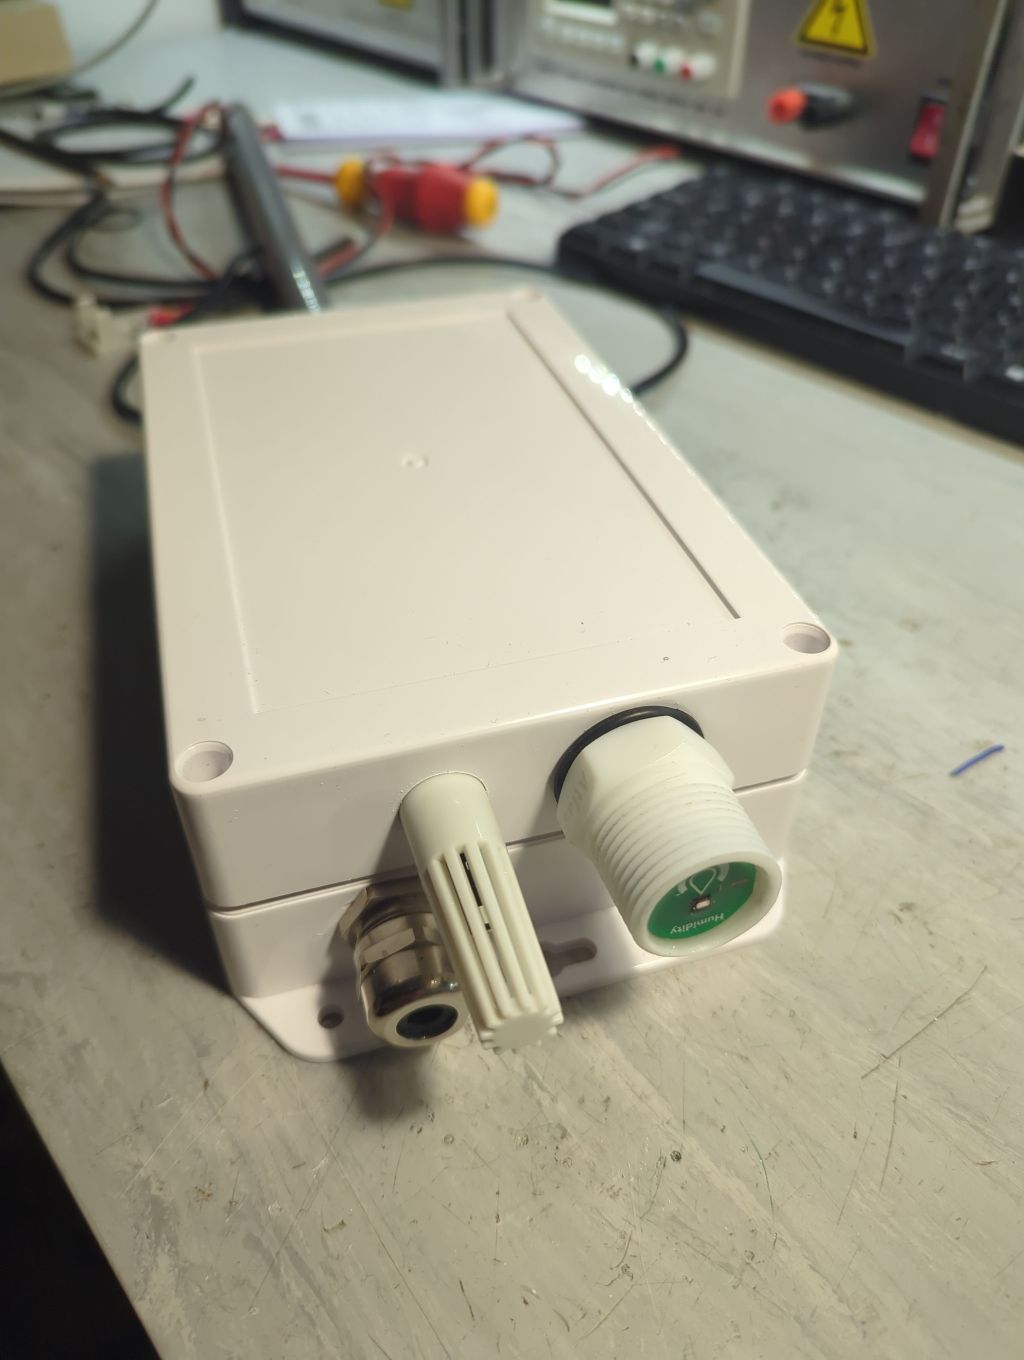
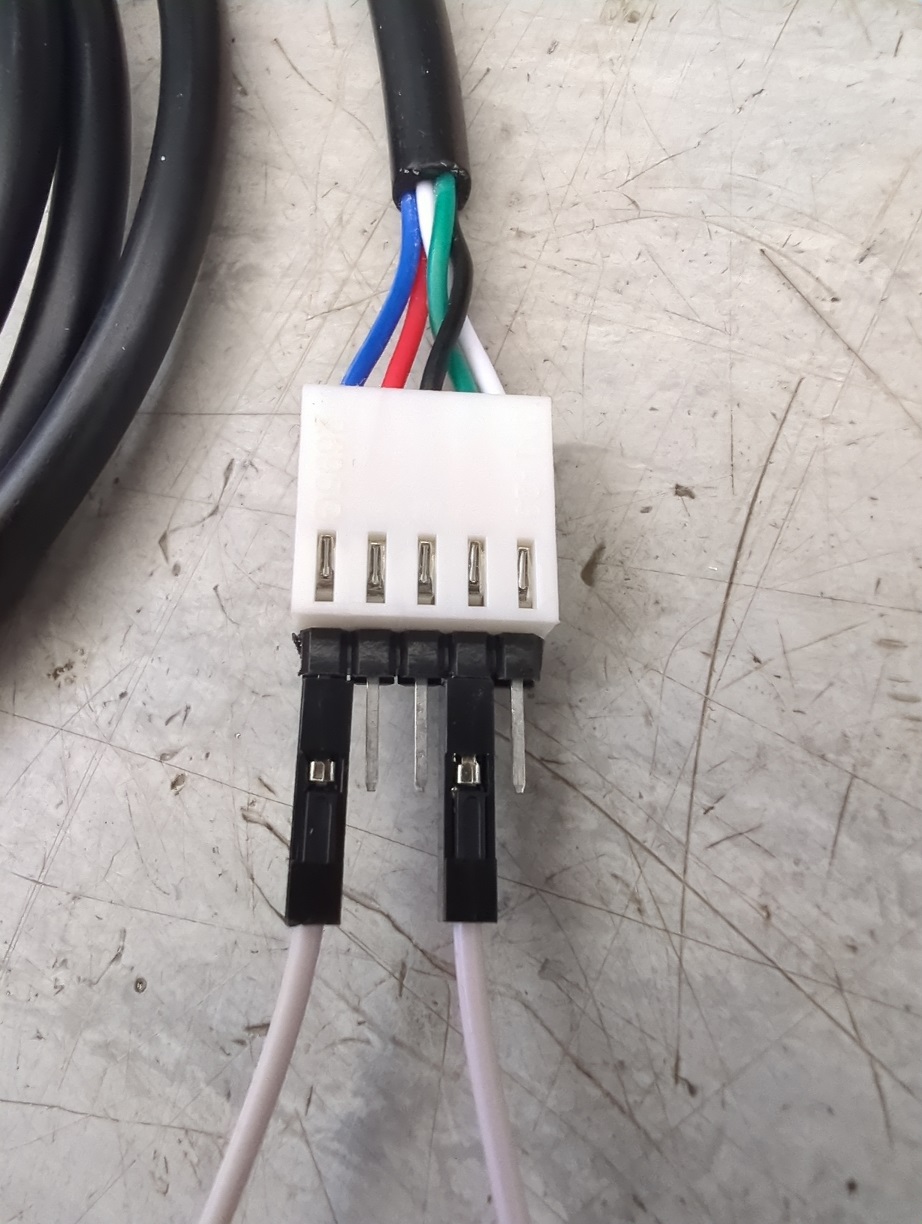
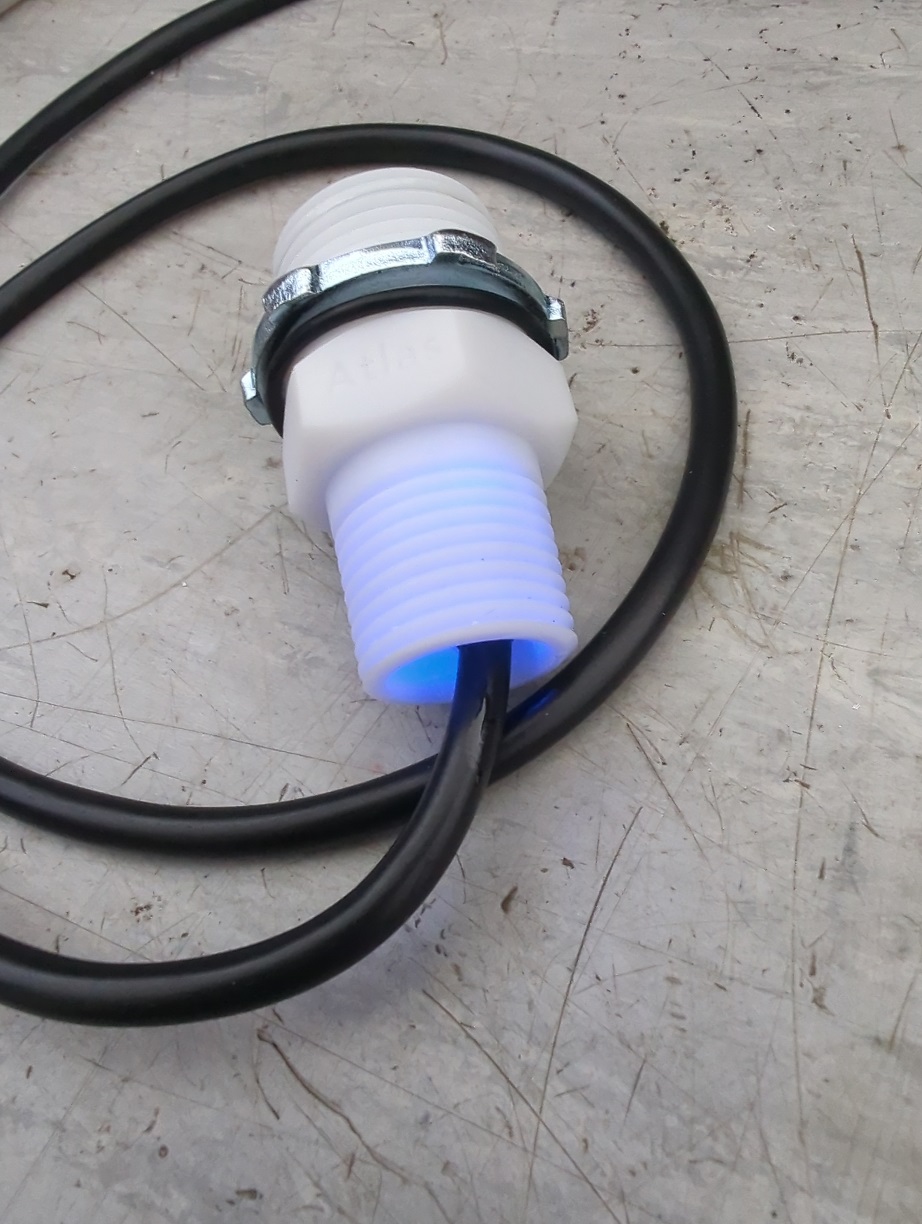
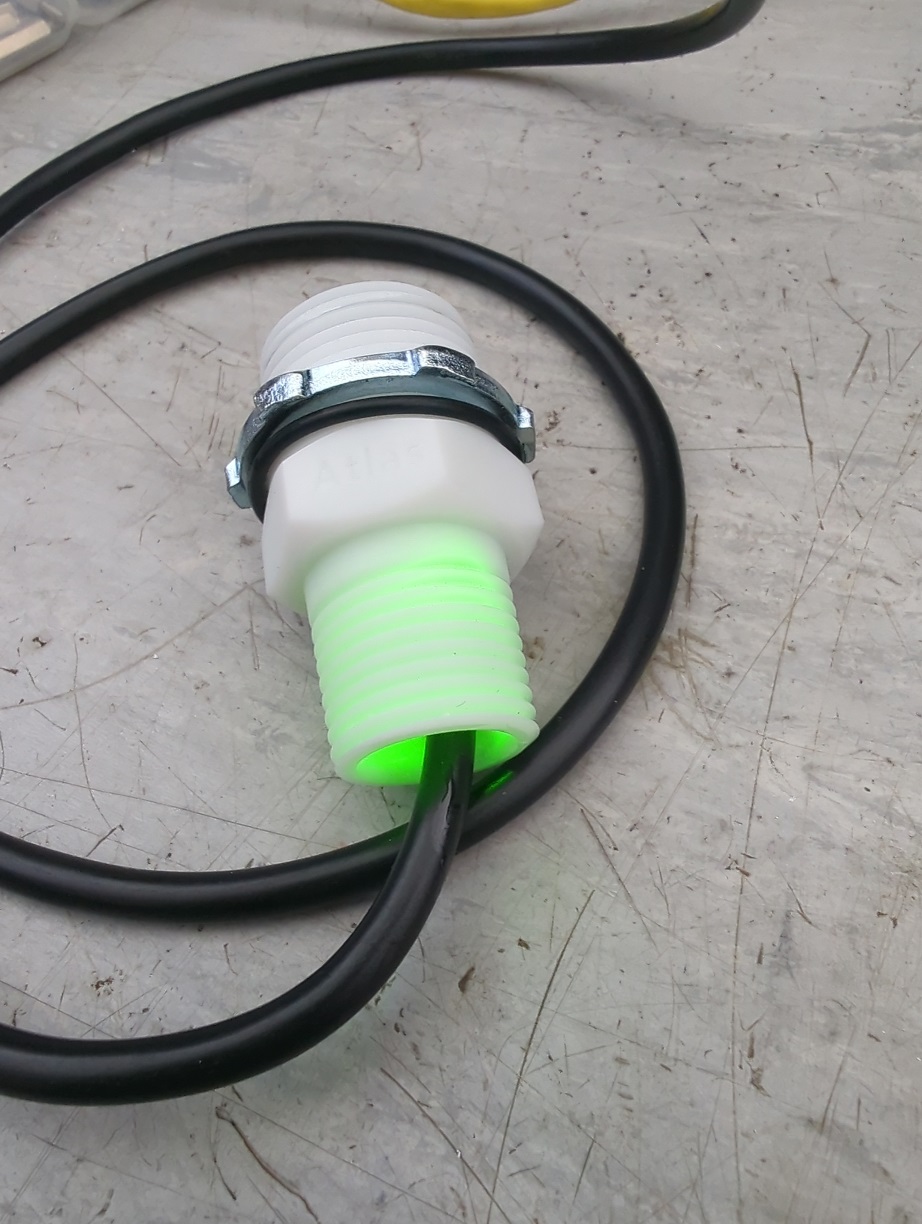
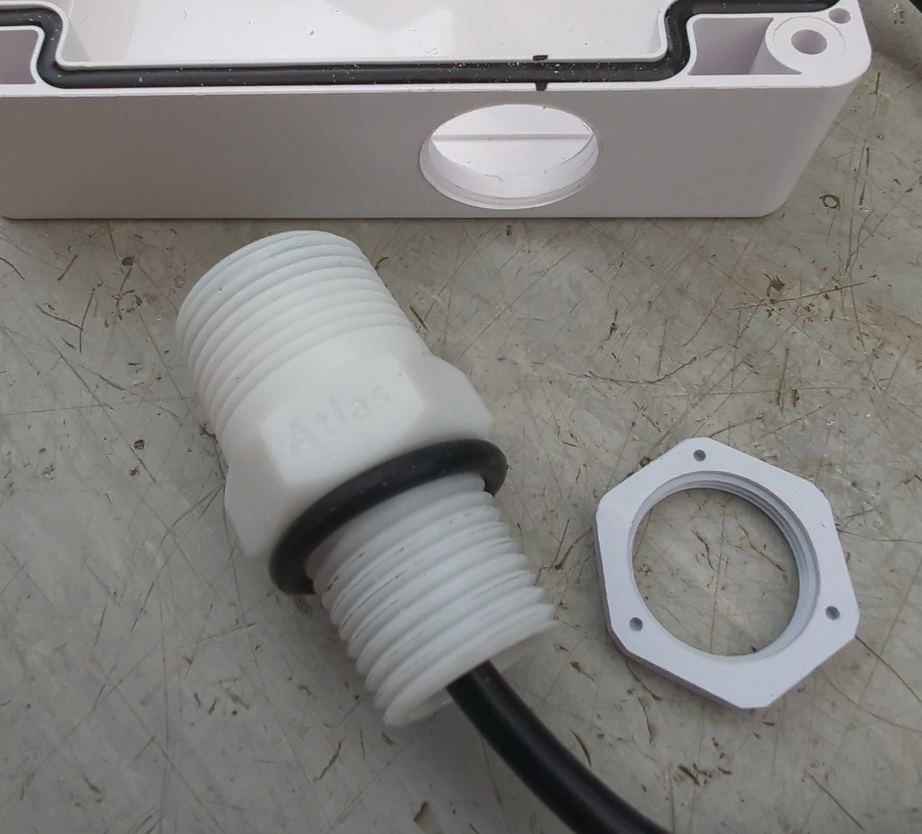
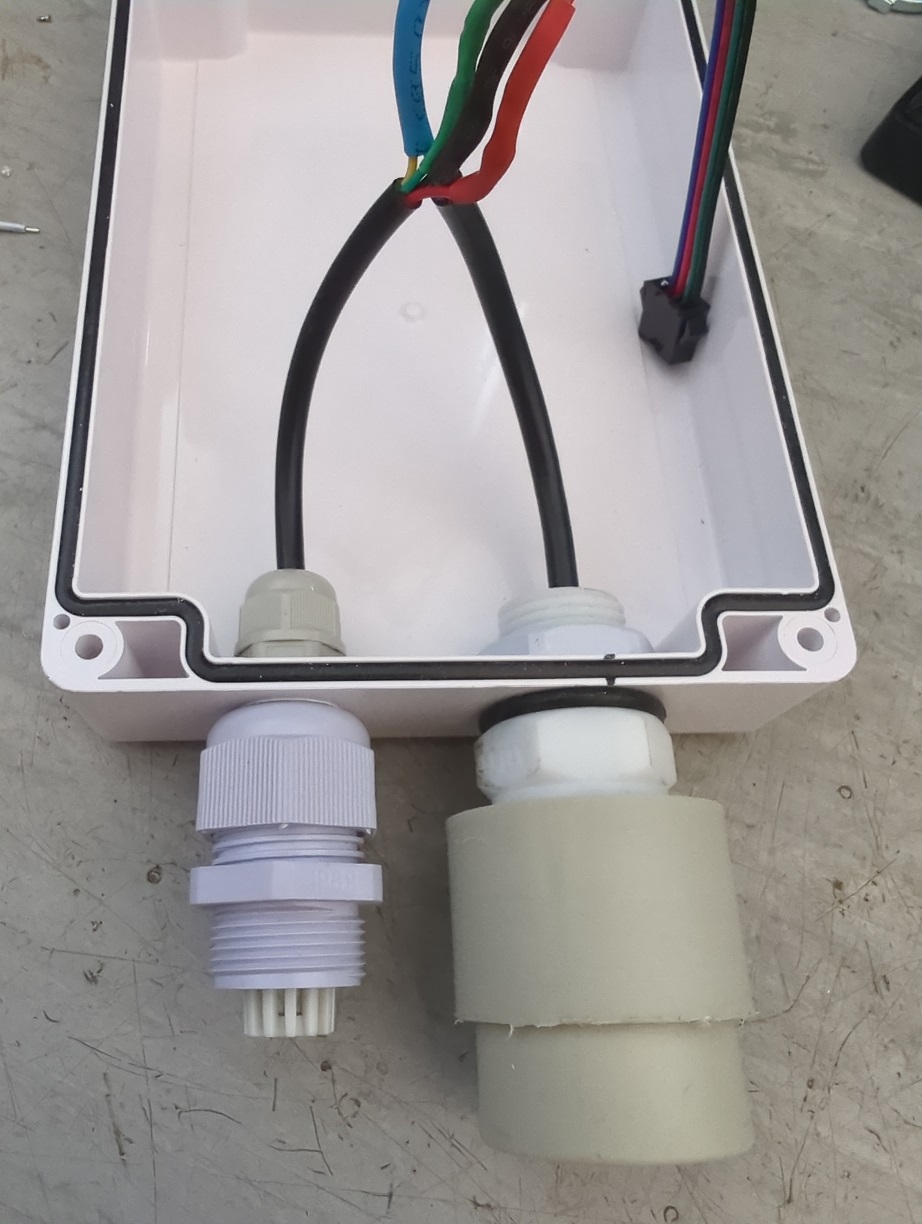
It's time to set the environment sensors. The EZO-HUM-P-P, aka. Atlas, is for some reason starting in serial mode. It has to be pushed into I2C action, and this is done by shorting two leads and giving it 5V. It transfers from flashing blue, to flashing green and we are done - it can be tied in with a PG13.5 cable gland nut and a rubber ring. It gets a protective shield in the form of a standard 1/2" to 3/4" piping plastic hollender, which my dear colleague at work spun on the lathe and made slimmer. Shit.. it had to be on the left, with the other sensor on the right!!! Mistake two... I have to change the LAN cable gland for a smaller one, because the hollender touches it. Oh well...
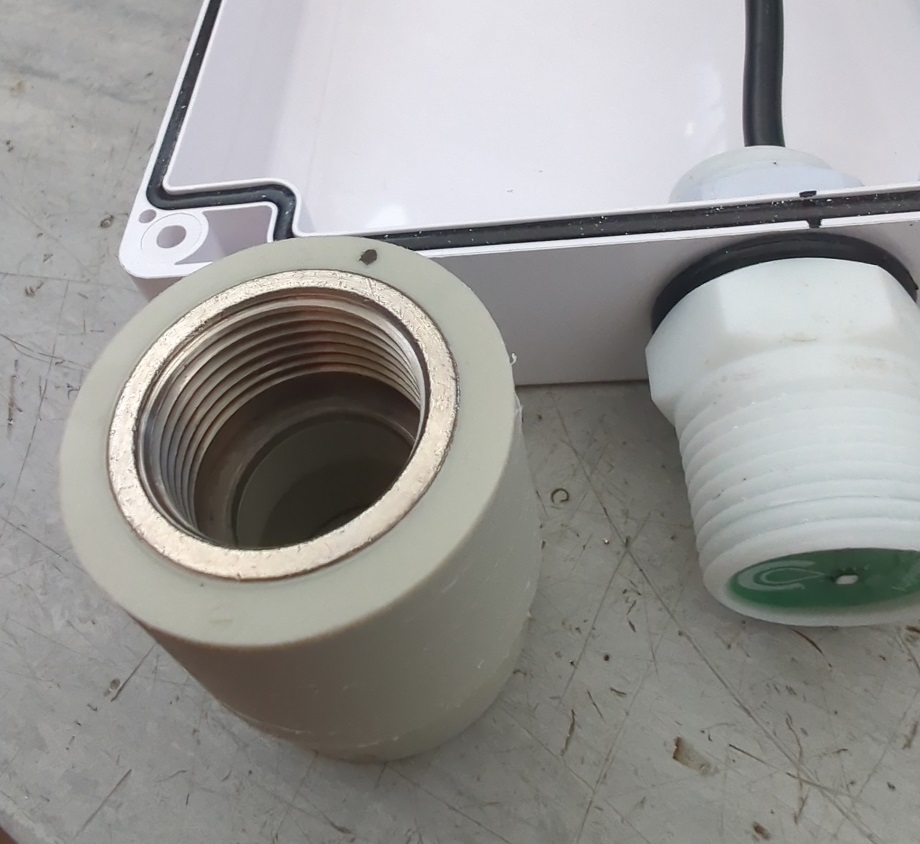
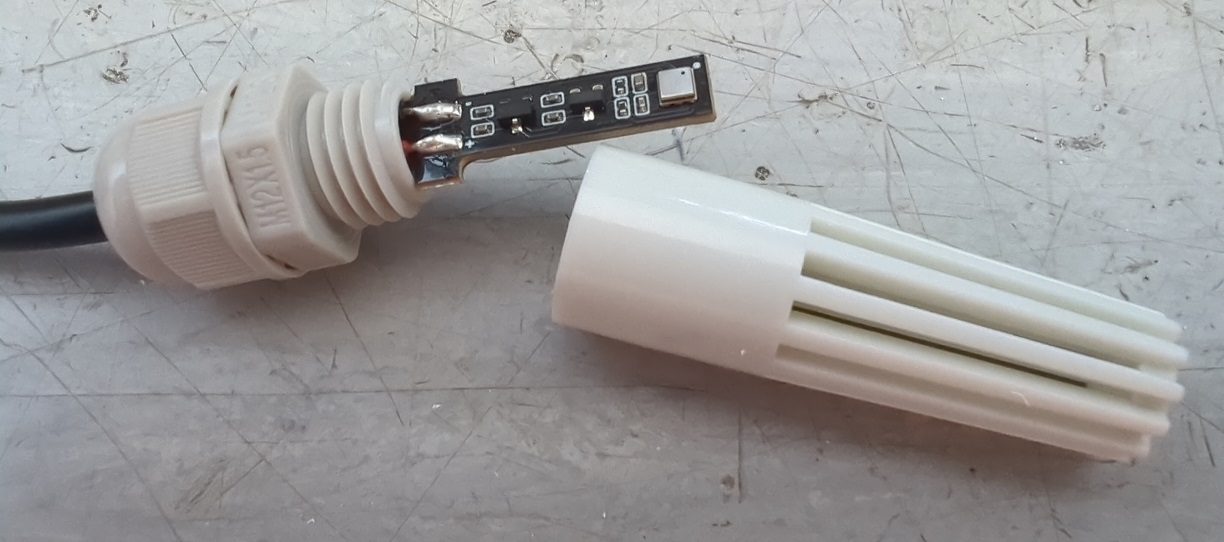
Now, the TVOC sensor is a piece of work. In order for it to get mounted, I loose all the rubber and drill a very specific hole with my step-drill - 14mm fully in and I start digging with the 16mm face, making a "bed" for the sensor shield. You have to be careful not to fully go trough! Than I press-in the shield and screw the sensor from the inside, held by the small cable gland. Weird, but fully functional way, 4-th node in. I make a cover for the sensor from a PG16 cable gland, from which I have removed the inside rubber grommet and widened a bit the hole on the front, so it can slide over the sensor shield. Works perfectly.
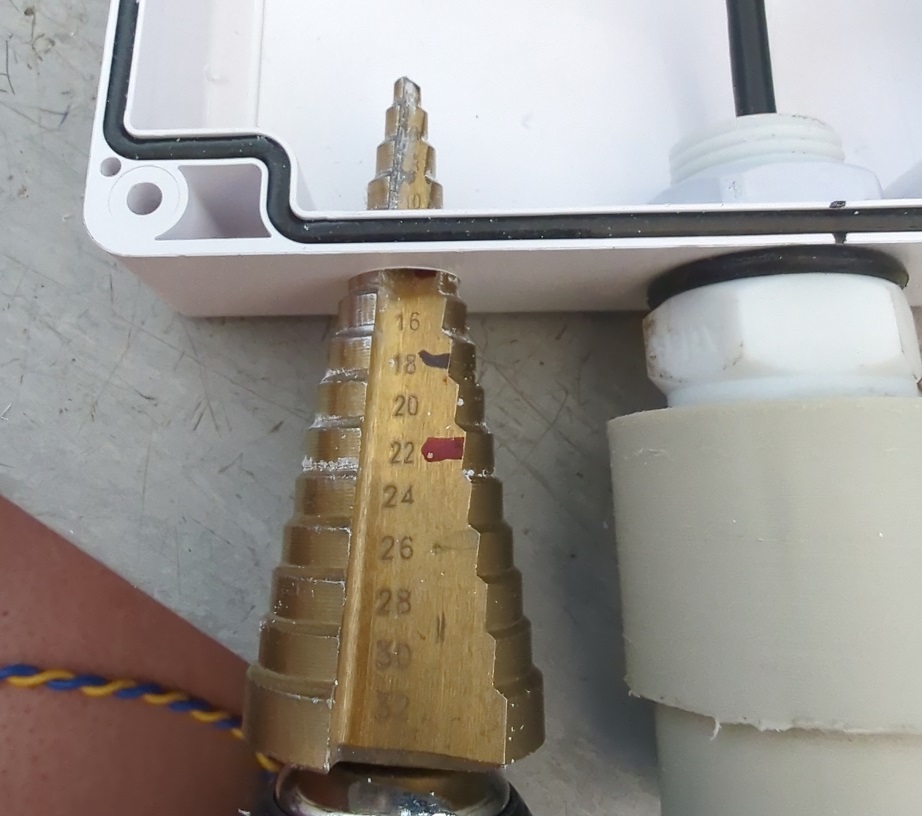
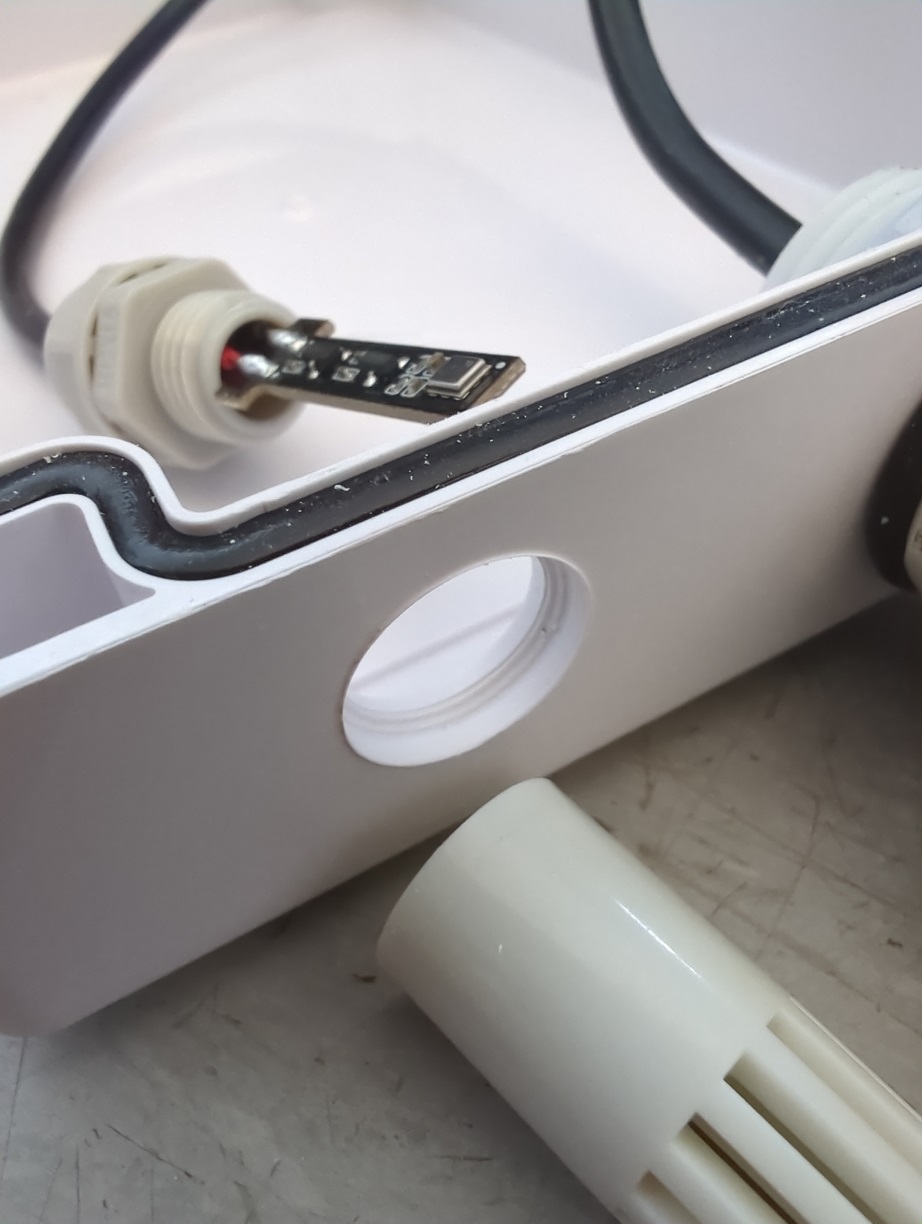
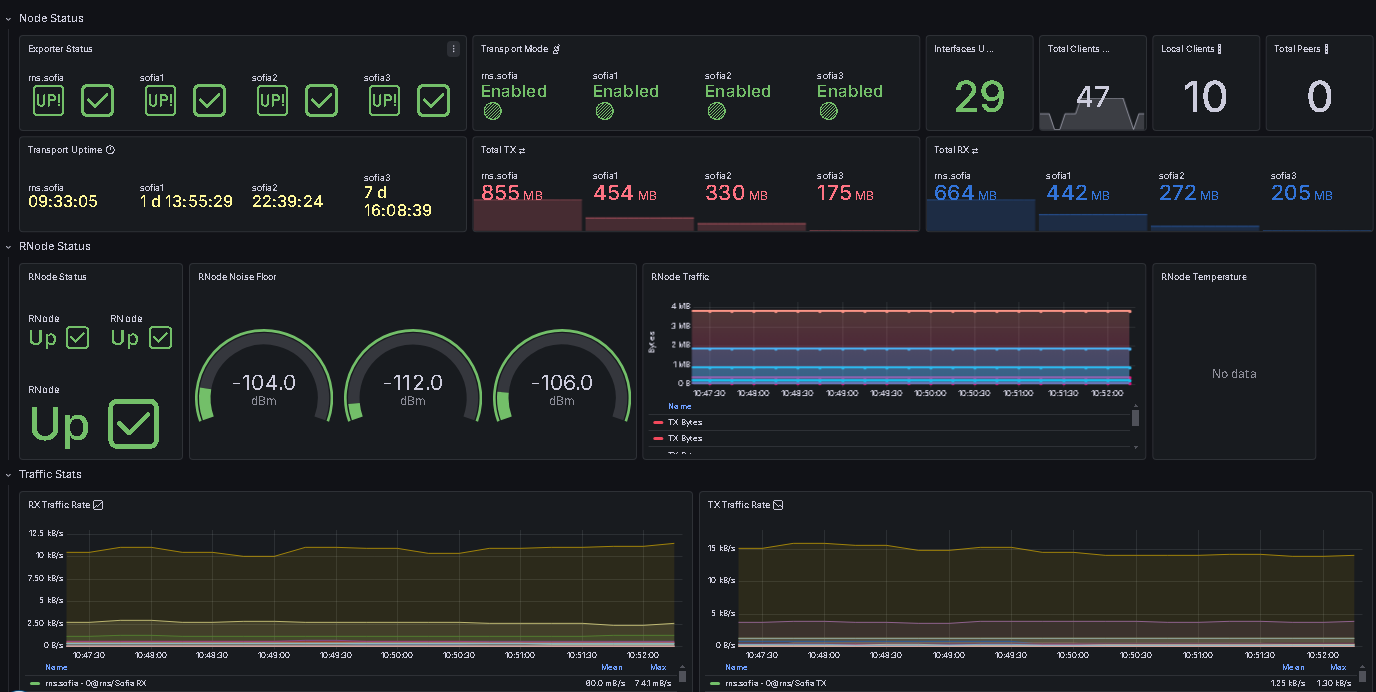
Next is some soldering and connecting. Now the aethernode is done, and when I2C and YGG is set up, the collector can access the data online.
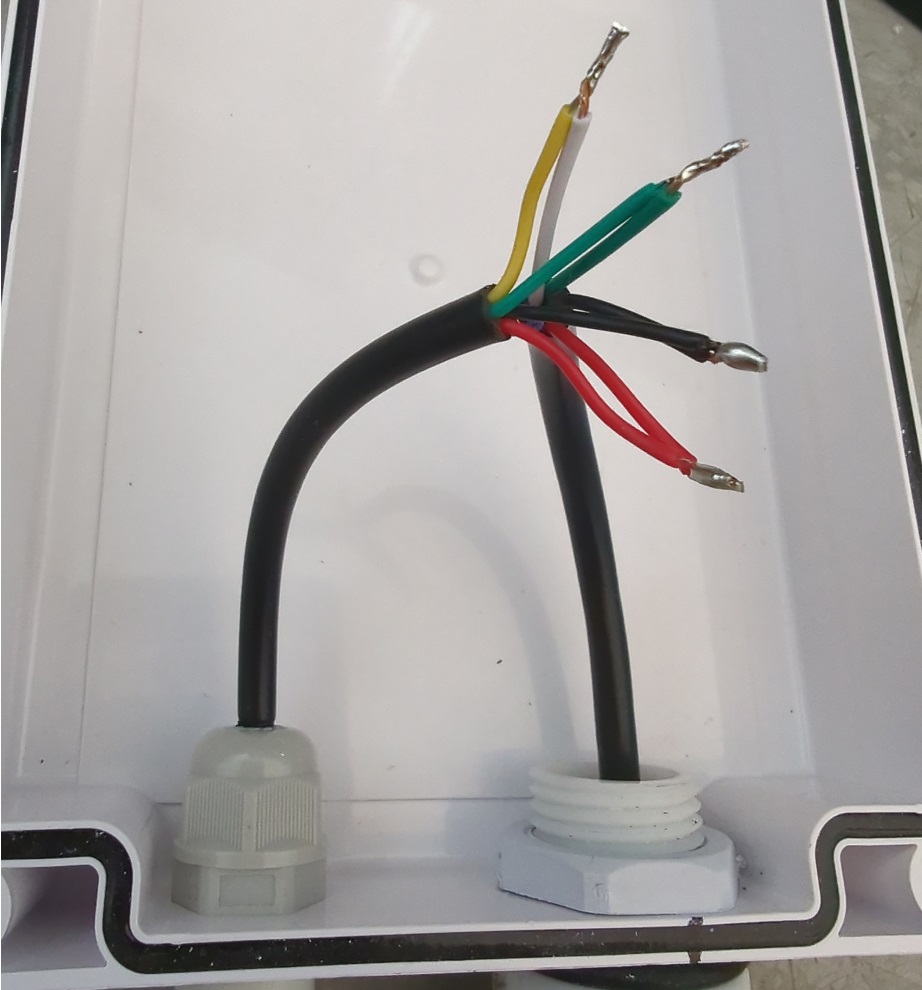
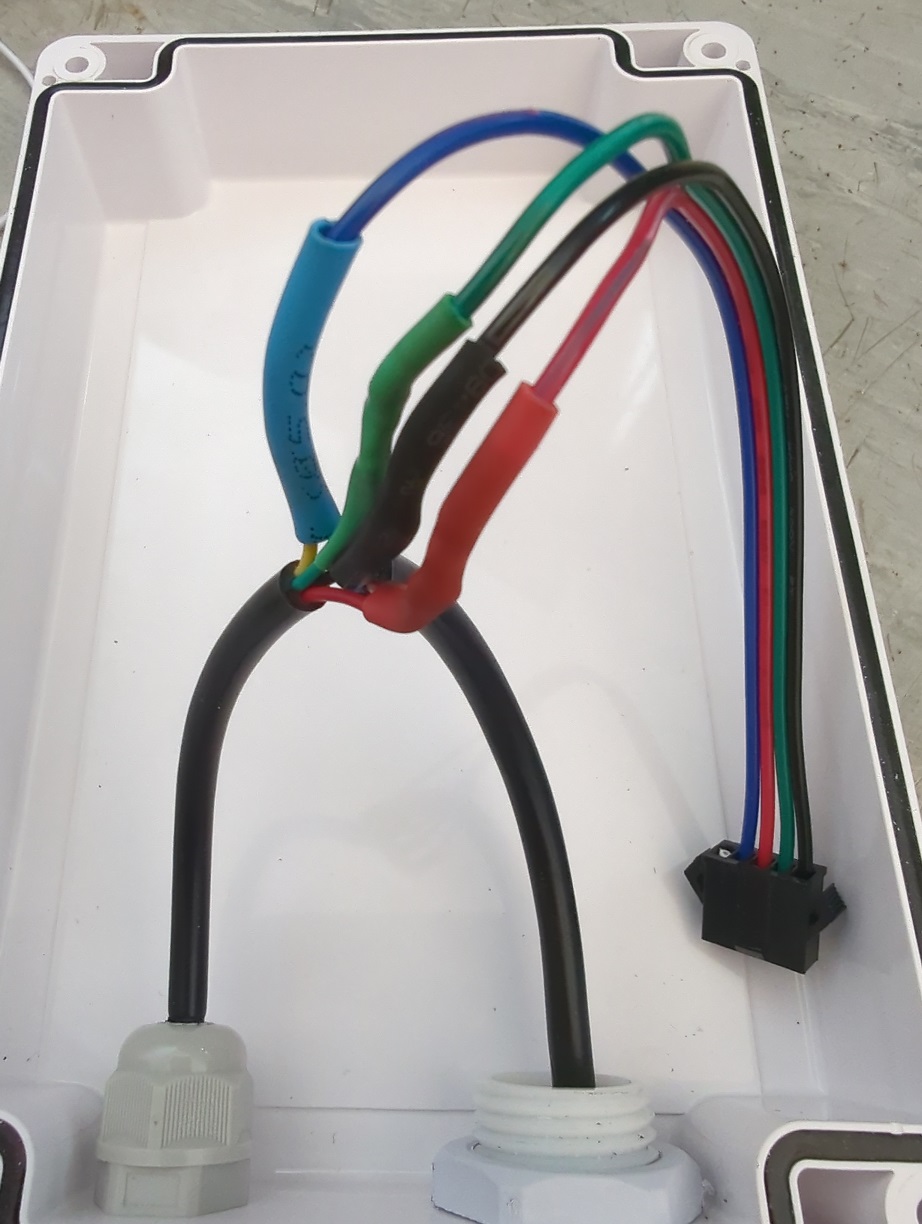
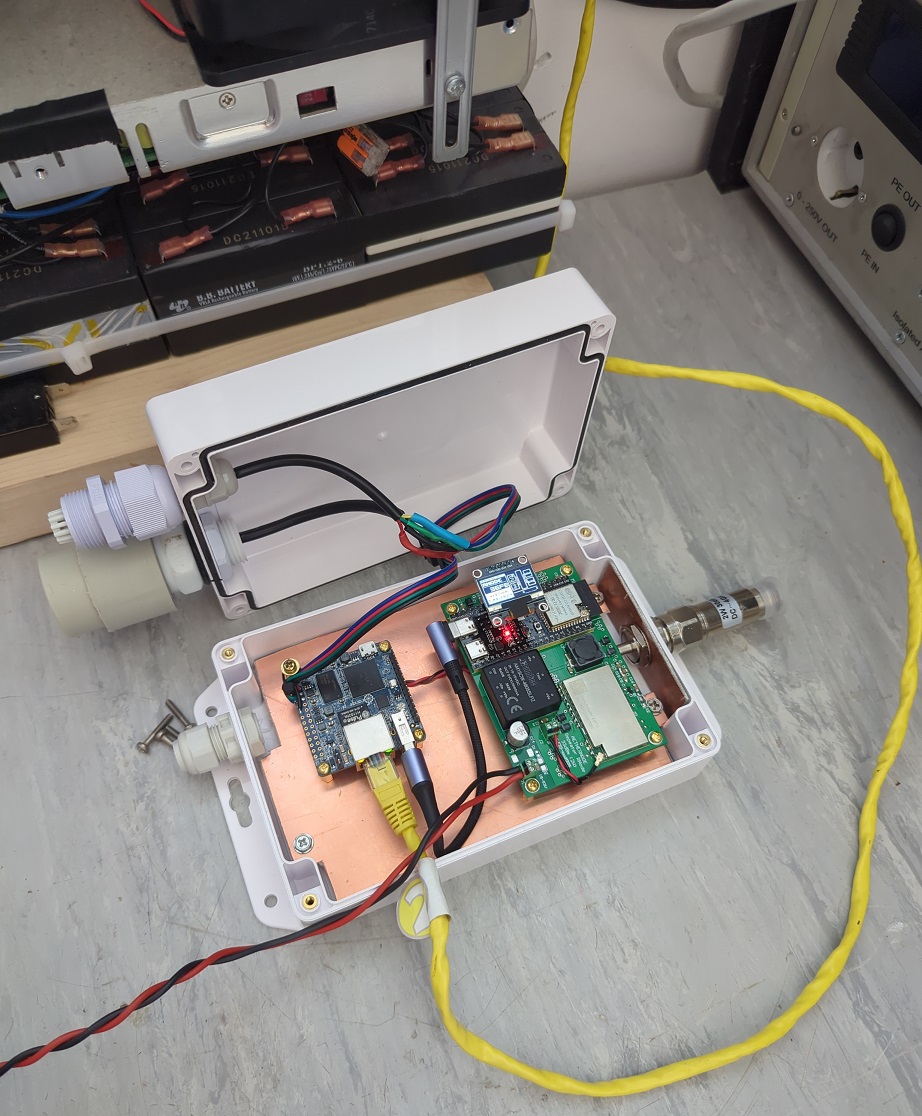
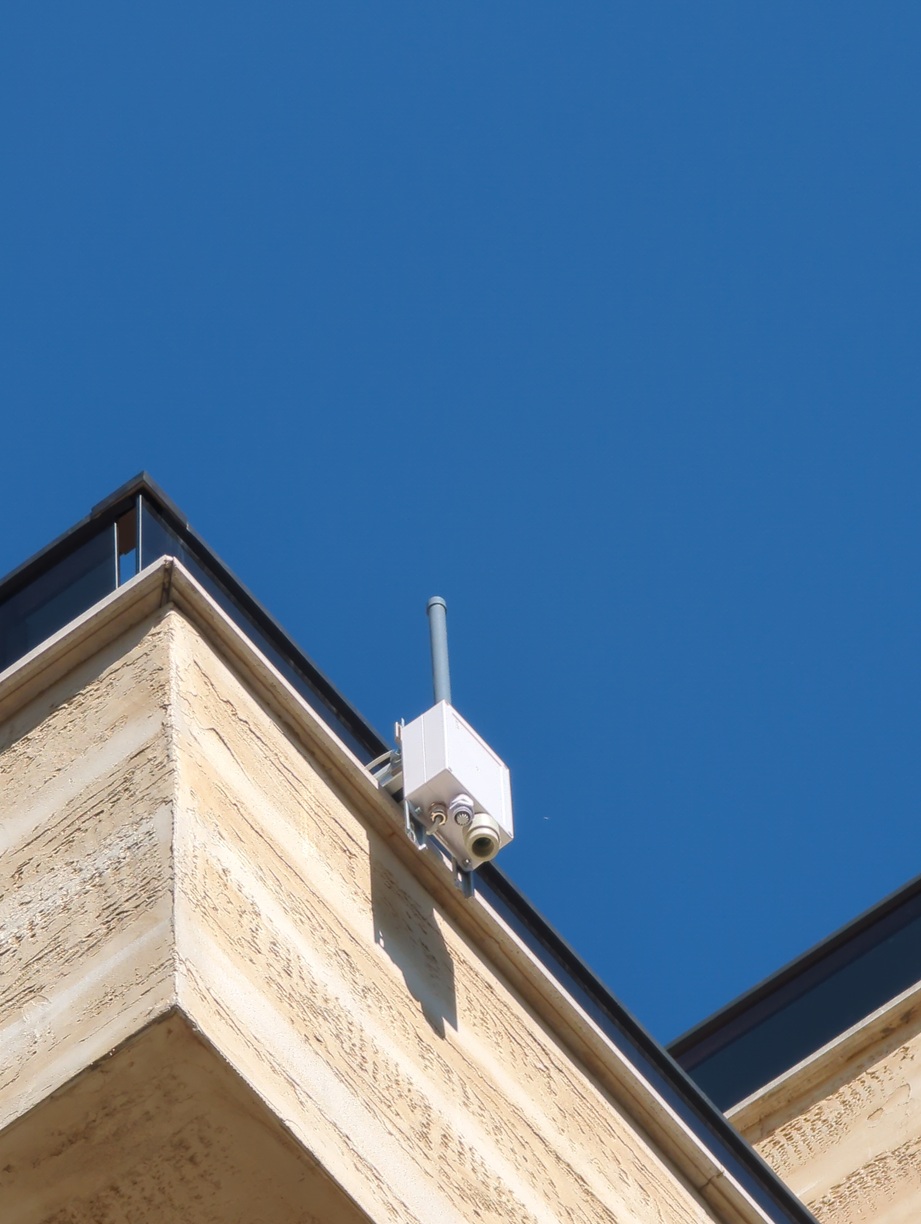
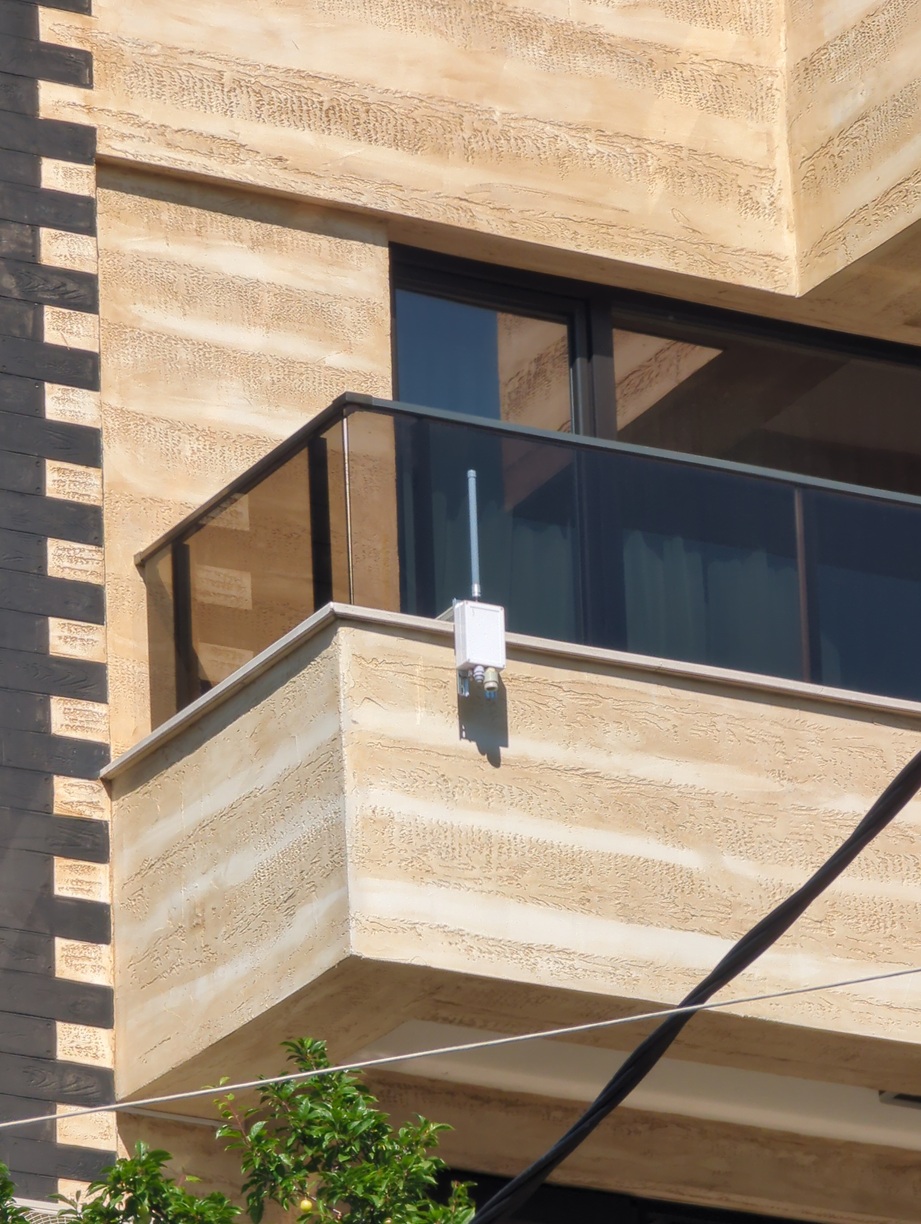
As soon as I get to mounting it in place, I will post pictures and updates!
Cheers!
Bill